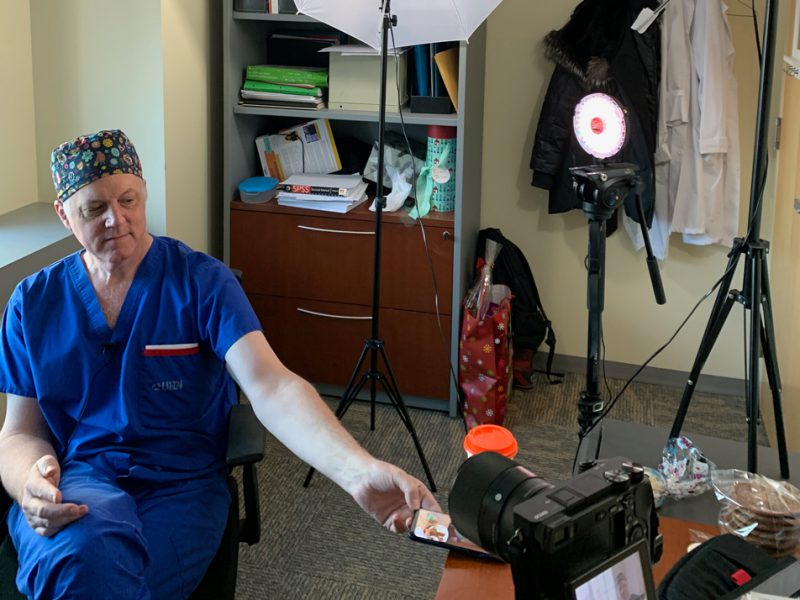
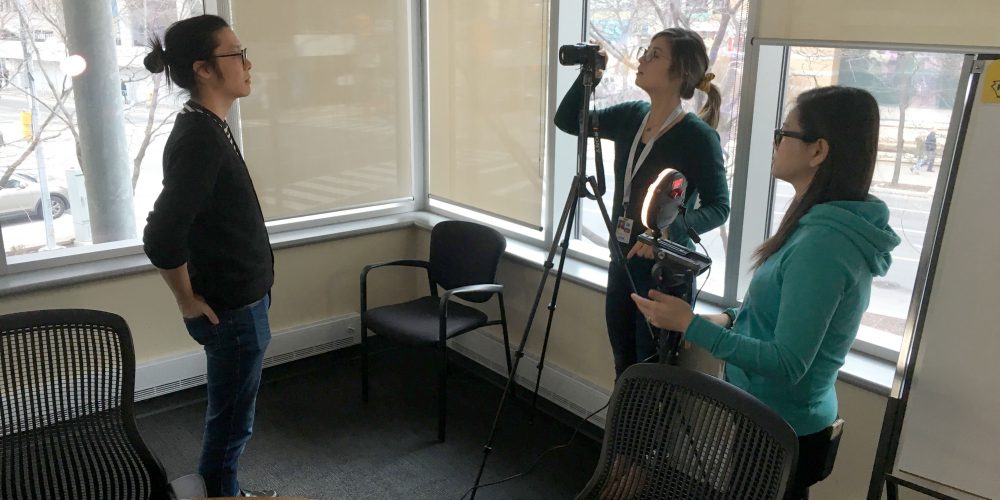
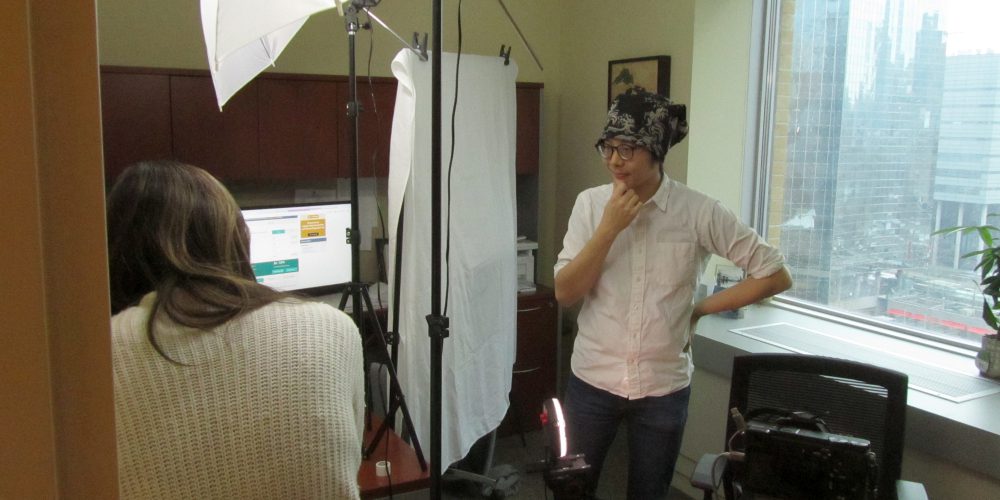
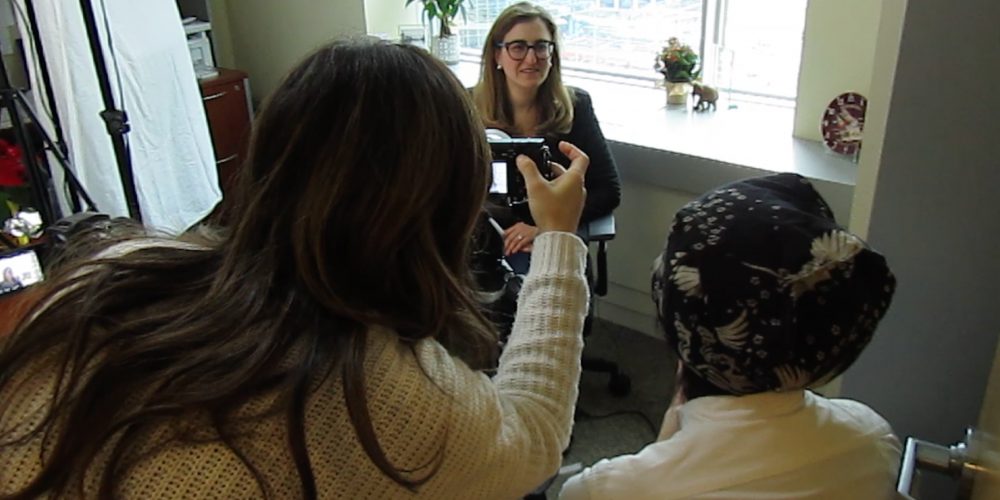
In December we launched our crowdfunding initiative on Patreon with an accompanying video. Along with testimonials from subscribers, we wanted to put our content expert’s faces, instead of their hands, in this video to talk about how the video atlas has helped them teach surgery. Shooting interviews was a new challenge for us. We have been more acclimated to filming in operating rooms with harsh lighting conditions, and minimal control over our subject, only occasionally requesting surgeons to move their hands or heads away. However, we love the videography and cinematography process, and are always excited to take on a challenge and learn something new!

CAMERAS
The camera setup we normally use in the operating room has been documented extensively here. However these point-of-view (POV) cameras are not suitable for filming interviews, due to the inability to adjust shutter speed and F-stop. While you might think of shutter speed as being a consideration exclusive to still photography, shutter speed also plays an important role in attaining the best exposure for video as well. The F-stop, or aperture control on the camera’s lens, is the main attribute of a camera’s adjustable features that impacts depth of field, or the distance from the camera at which a clear, crisp image is in focus. Mirrorless cameras have been becoming very popular with videographers, because they allow for more control and can have high quality photography lenses mounted on them. Since some of our team members already own mirrorless cameras, we decided to use them to film the interviews. We used a Sony a6300 as the main "A cam", and a Panasonic Lumix G7 for the "B cam".
For the Sony a6300, we used a Sigma 30mm f1/4 lens. The large aperture gives us a shallow depth of field, and stunning blurs in out-of-focus areas. For the Panasonic Lumix, we used a Panasonic 25mm f1/7 lens, which is ideal for portraits.
A problem with filming on different cameras is colour matching. We tested various picture profiles on both cameras, and settled on one that matched as closely as possible. We used Picture Profile 7 on the Sony, and a slightly modified Cinelike-D on the Panasonic. We then used DaVinci Resolve to colour grade to match both footage.
SOUND RECORDING
We’ve never had to worry about sound recording for our surgical videos, since we professionally narrate our videos in post-production. To find the best solution for recording interviews, we had to do a little research and experimentation. After testing a shotgun mic (rented from local camera store) and Tascam DR-10L lavalier mic, we found the lavalier mic to have much better sound quality than the shotgun mic for interviews.
LIGHTING
Lighting in the operating room is often challenging due to the size and depth of the surgical field, presence of head lights, and/or position of the OR lights. Lighting an interview subject is a completely different experience. We wanted a bright room with natural light to produce soft shadows on our subject. It was surprisingly difficult to find that in a hospital setting due to patient privacy. Luckily, we found a generous physician who was willing to lend us her office with big windows and a street view for the interviews. This window gave a nice blurred background. It also acted as a nice backlight for rim lighting on our subject. We used a photo studio setup from CanadianStudio and Rotolight NEO II to fill in the shadows.
If you love our atlas, consider supporting us on Patreon
![]()