With every project we work on together as a team, we learn new techniques for creating our educational content, and continuously refine our production process.
We recently completed an anterolateral thigh perforator flap harvest technique for our ENT section of videos. We'd like to use this case study example to give an overview of our production process for creating 3D-animation-enhanced surgical teaching videos.
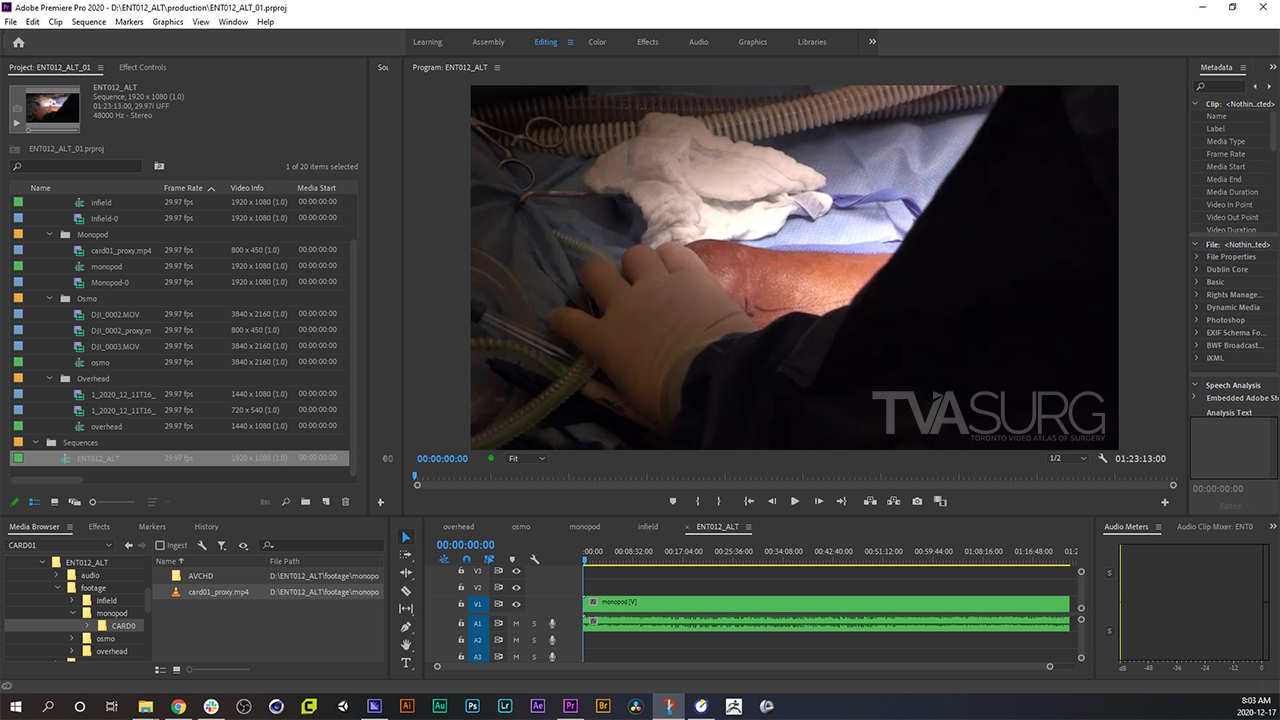
Video editing is usually done in Adobe Premiere Pro. For this case we had multiple cameras set up in the OR at various angles, to ensure we captured all the important steps of the case. You can learn more about our filming setup here.
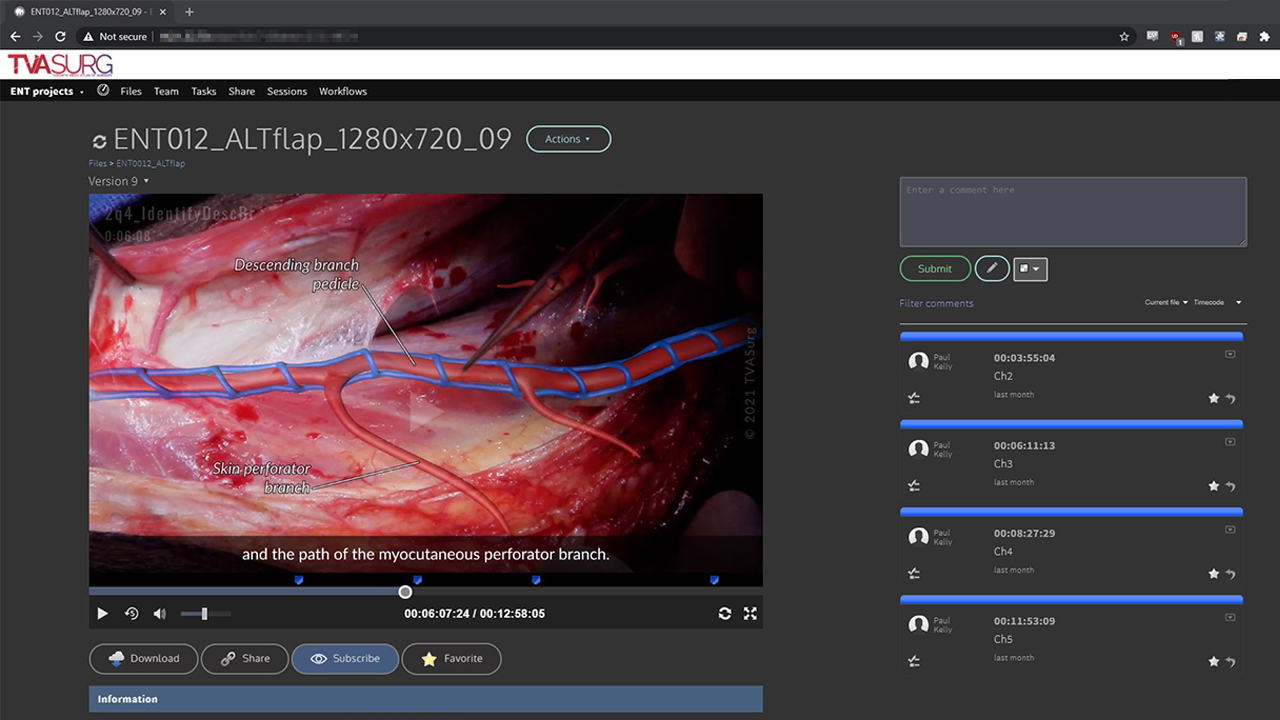
As the video is developed, we use a video review system called Kollaborate to share updates with our surgeon editors. This allows them to see the progress on a video and share comments, which are time-stamped to the video draft.
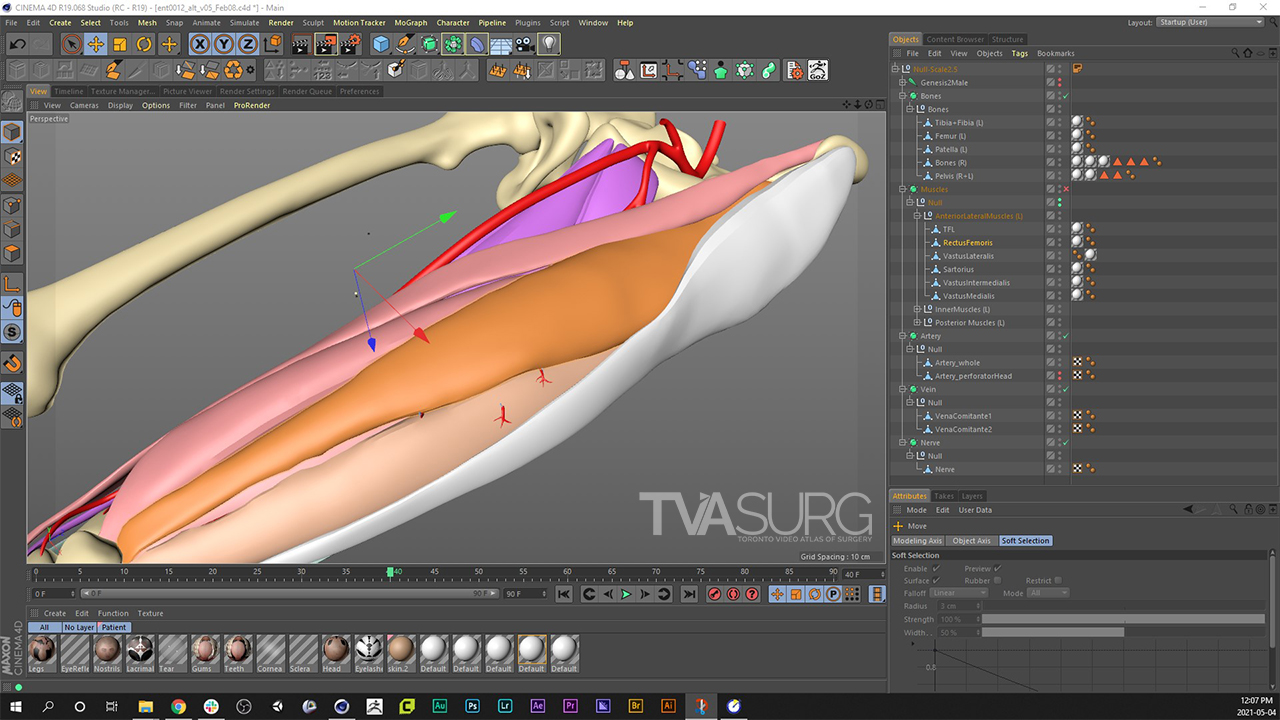
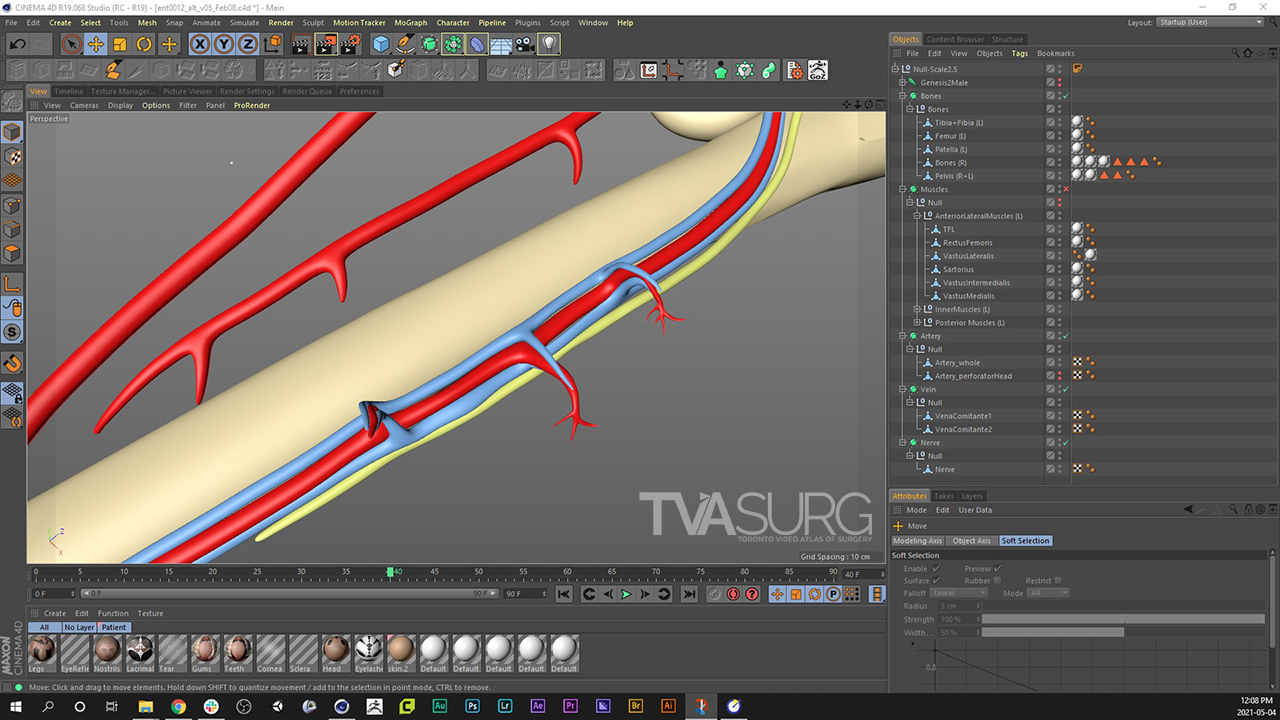
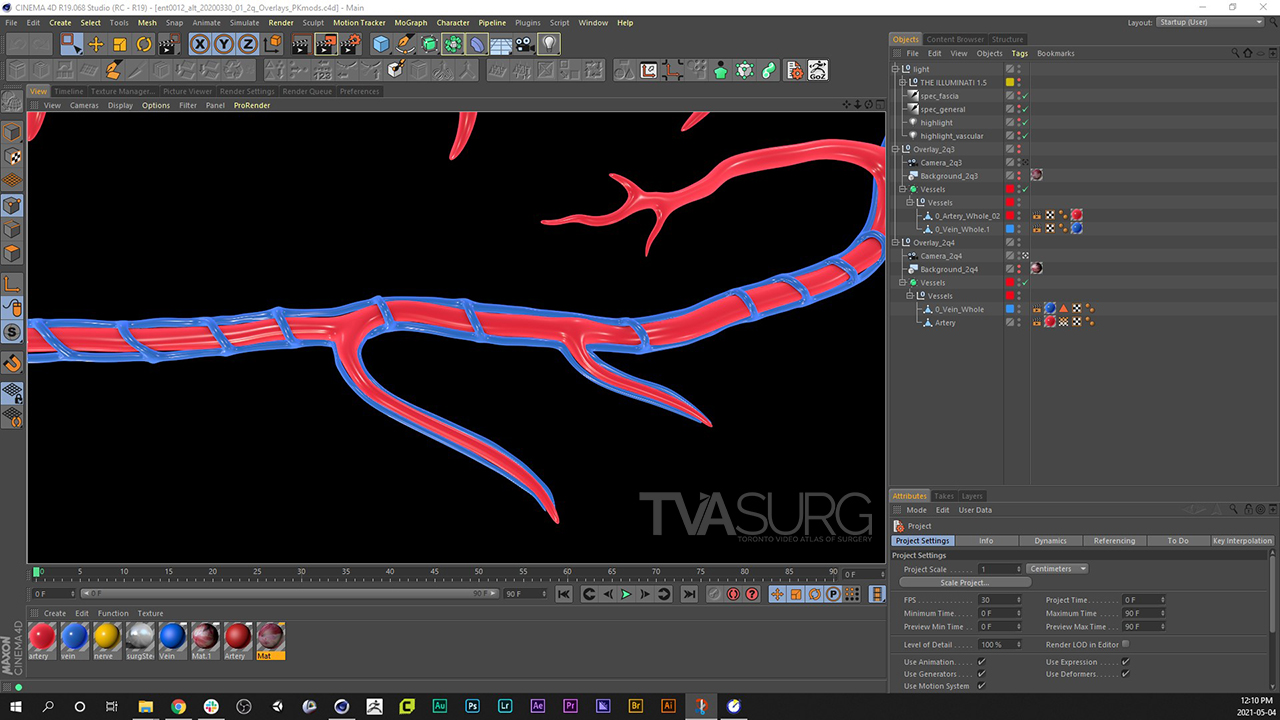
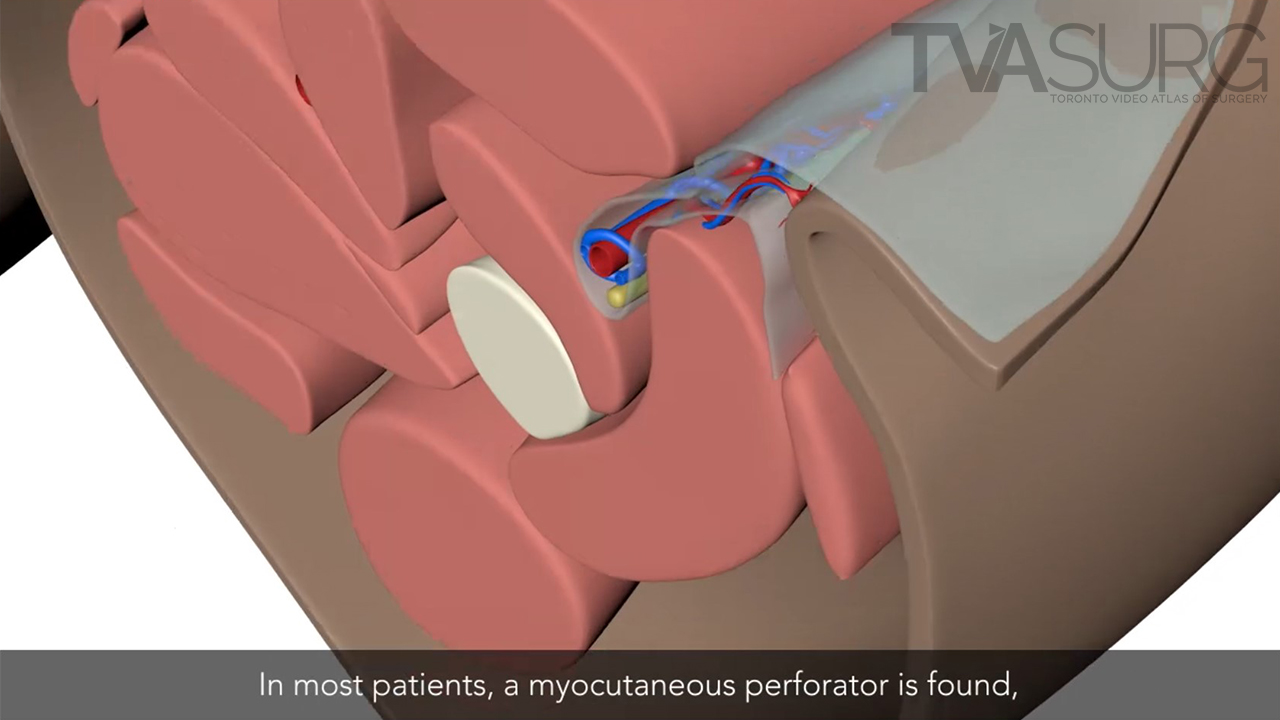
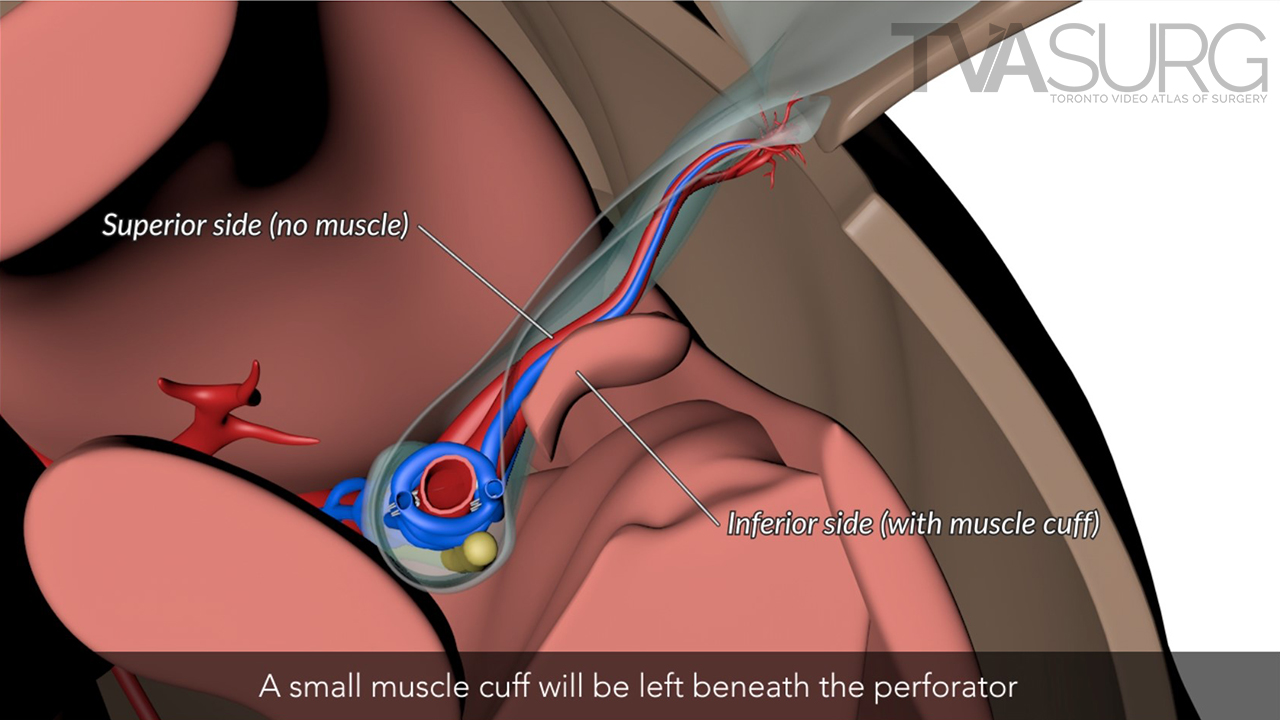
We create and refine the base models in our animation software, Cinema4D. You can learn more about our 3D modelling process here, and our 3D animation process here.
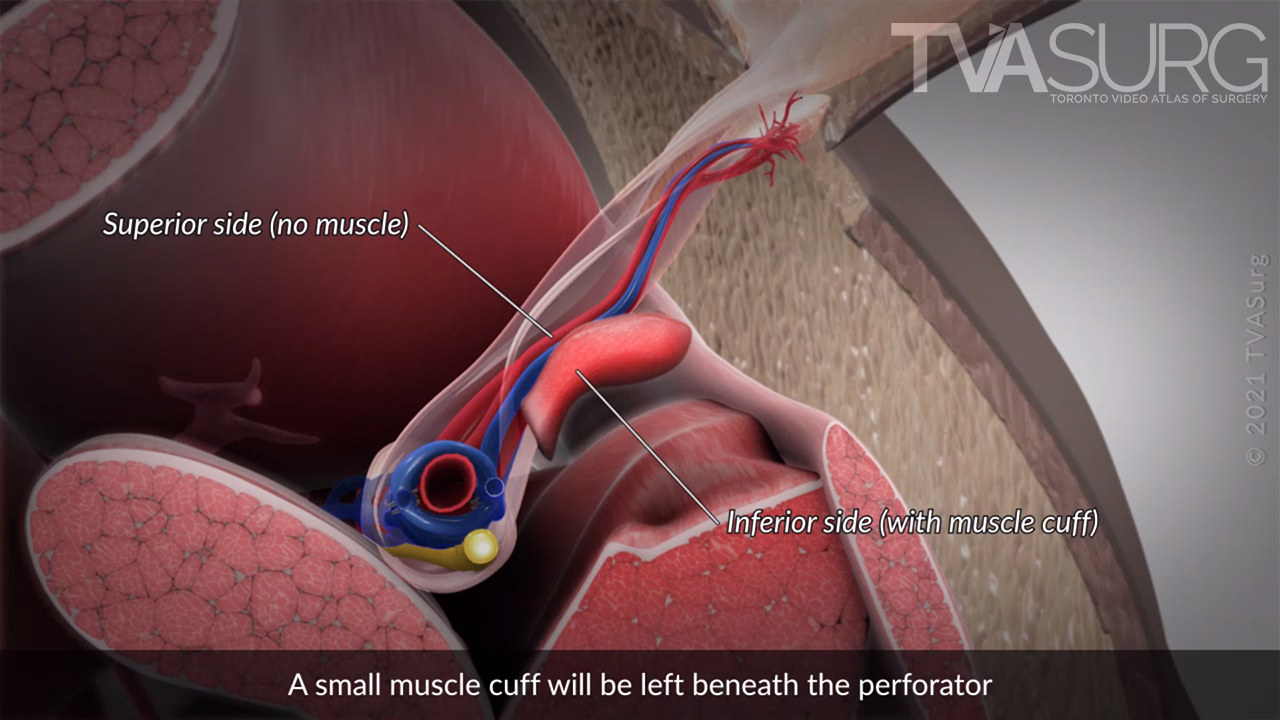
In many surgical procedures we have to depict esoteric structures that you aren't likely to find on stock models, so these are often custom modelled on a case-by-case basis. Here we've modelled the myocutaneous and septocutaneous branches of the descending branch pedicle, which supply the skin island portion of the flap.
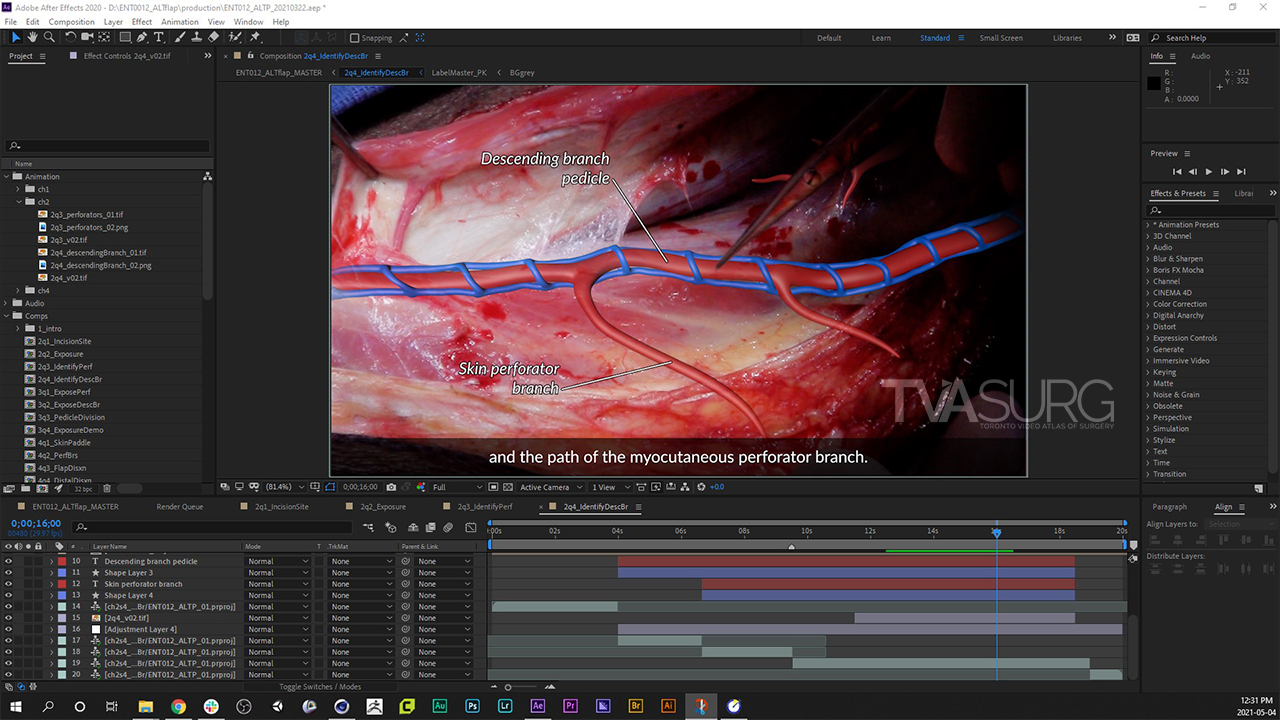
Using a render with a transparent background, we can also use masking and opacity adjustments to overlay an illustration over live footage, giving the audience a clear understanding of the anatomy present, which in some cases may be difficult to discern from surrounding tissues of similar appearance, or may be deep to what is shown at that moment.
We hope you've enjoyed this overview of the production process for making our videos. If you're curious to learn more about any one of these production phases, let us know! We're planning on releasing more process and tutorial-style blogs in the coming months, so let us know where you'd like us to focus!
--TVASurg Team

