Audio narration is key to delivering your educational message when using video. If you are submitting a video to a conference, audio narration of your dictated script may be a requirement. At the end of your video production when you are ready to render out your final video file, you’ll want to be using high-quality voice narration, but for earlier stages it’s helpful to use low-fidelity “scratch” narration for pacing.
Why use scratch narration?
The speed at which statements are read aloud in narration, the length and number of pauses, and whether the audio narration synchronises with what’s being shown in the footage or animation, are what make up the “pacing” of a video’s narration. How well the pacing of audio and video is done makes the difference between a video that captivates and engages a viewer, versus a video that bores and/or confuses.
We try to integrate audio narration into our video drafts as soon as possible–usually on the first draft if scheduling permits. There are two straight-forward approaches to adding draft narration into a work-in-progress surgical video, and both are done best with a pre-written script.
How to generate scratch narration
Option 1: Record your own
The first approach to generating draft audio, or “scratch narration”, is to simply read the video script aloud yourself–most smartphones have a voice recorder app as one of the default utility apps. Advantages to recording your own voice is that the pacing will generally match your presentation style, you are more likely to pronounce difficult words correctly such as medical terminology, and it will sound natural to your audience.
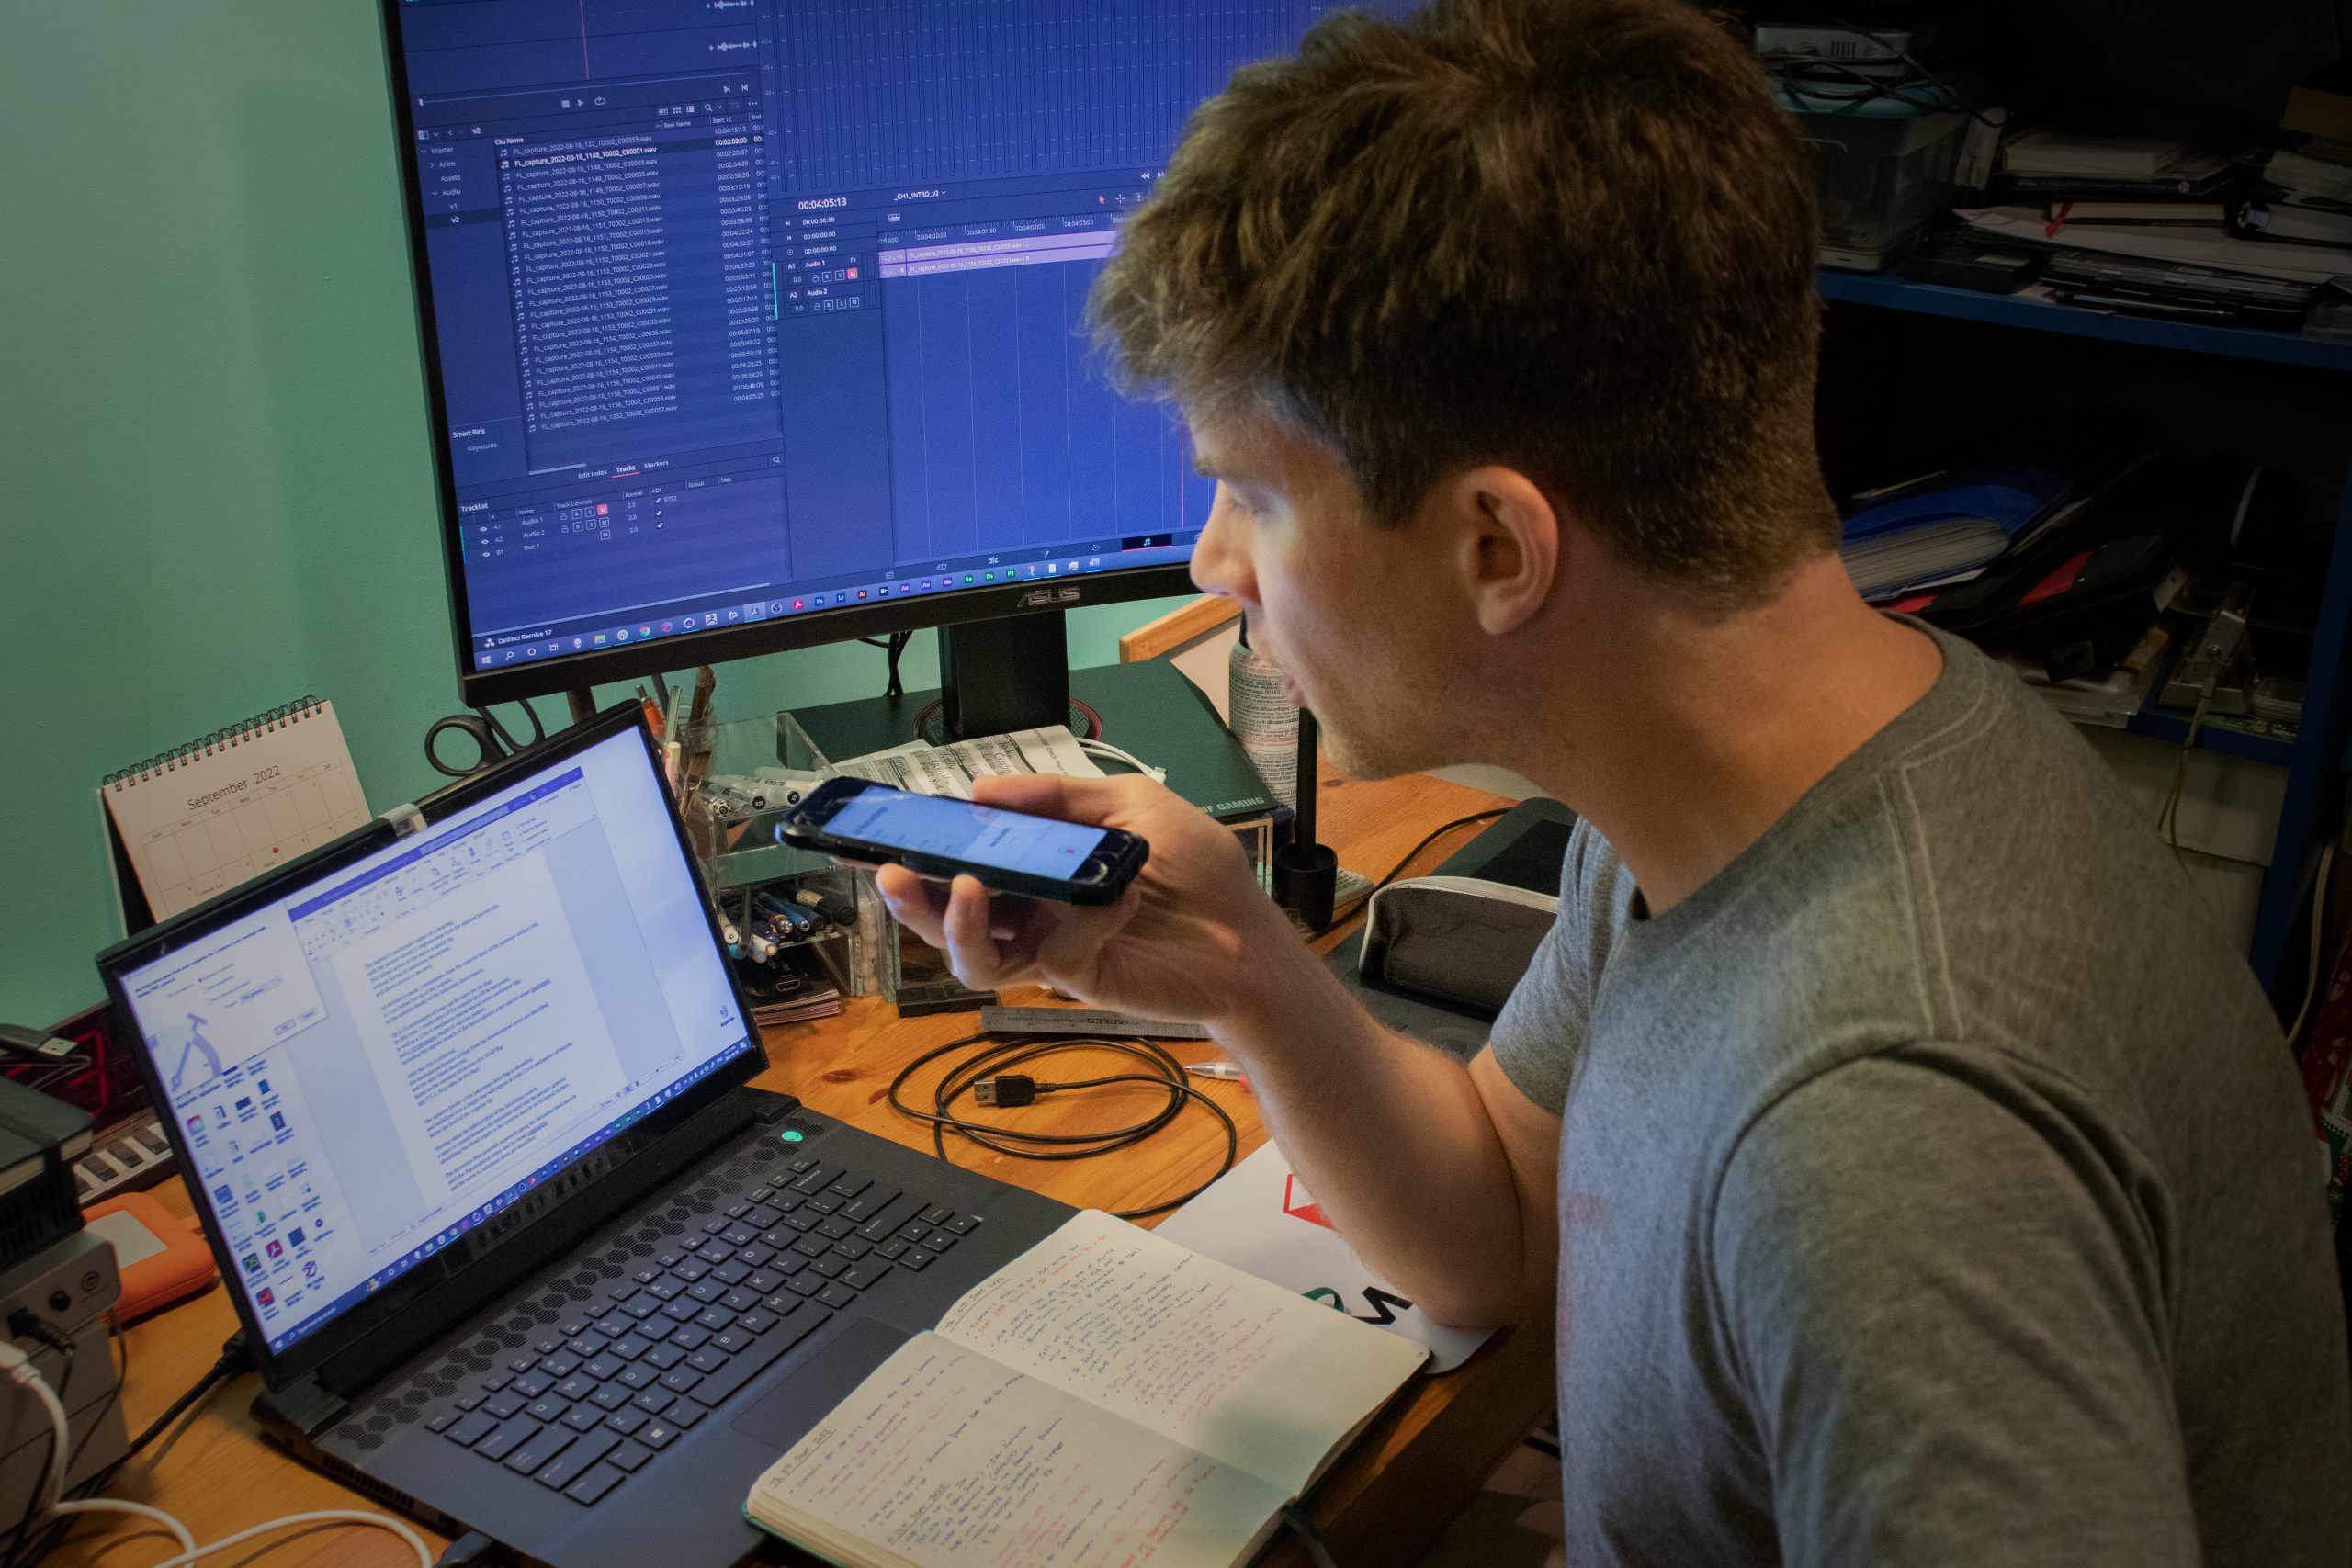
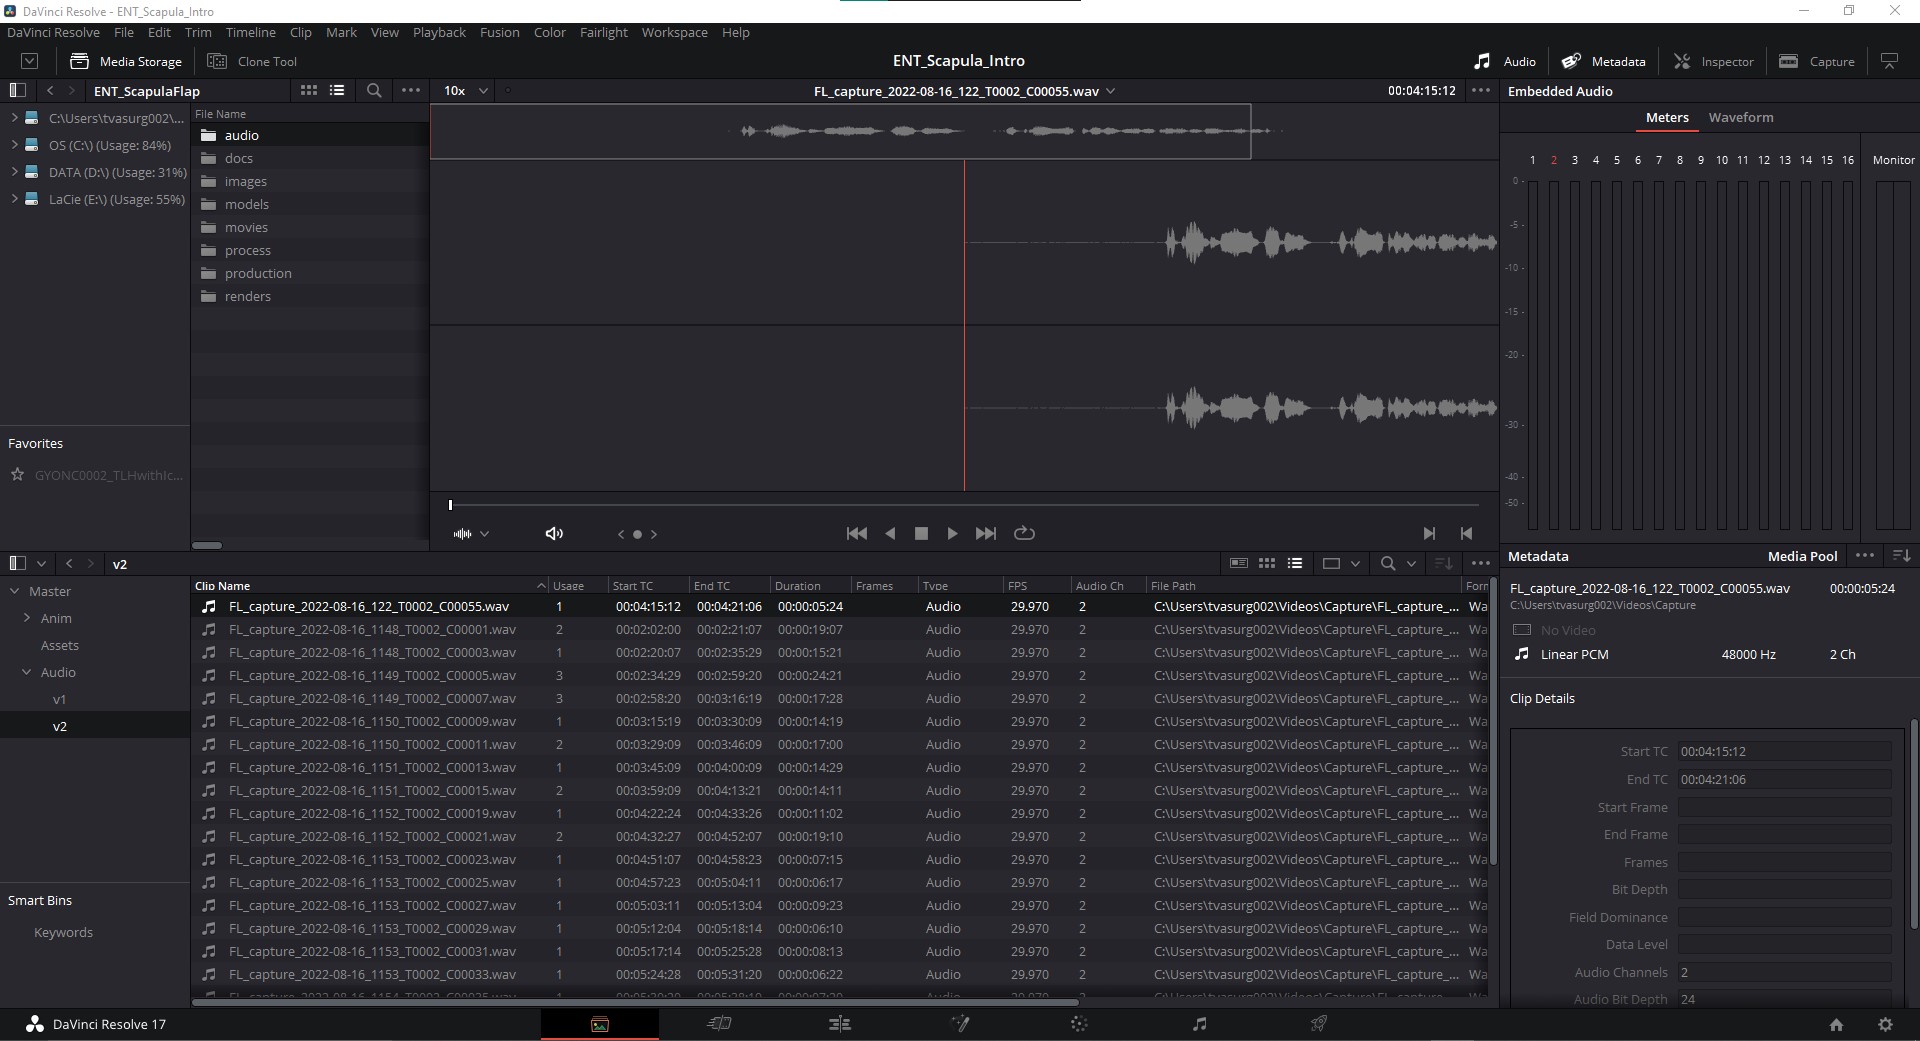
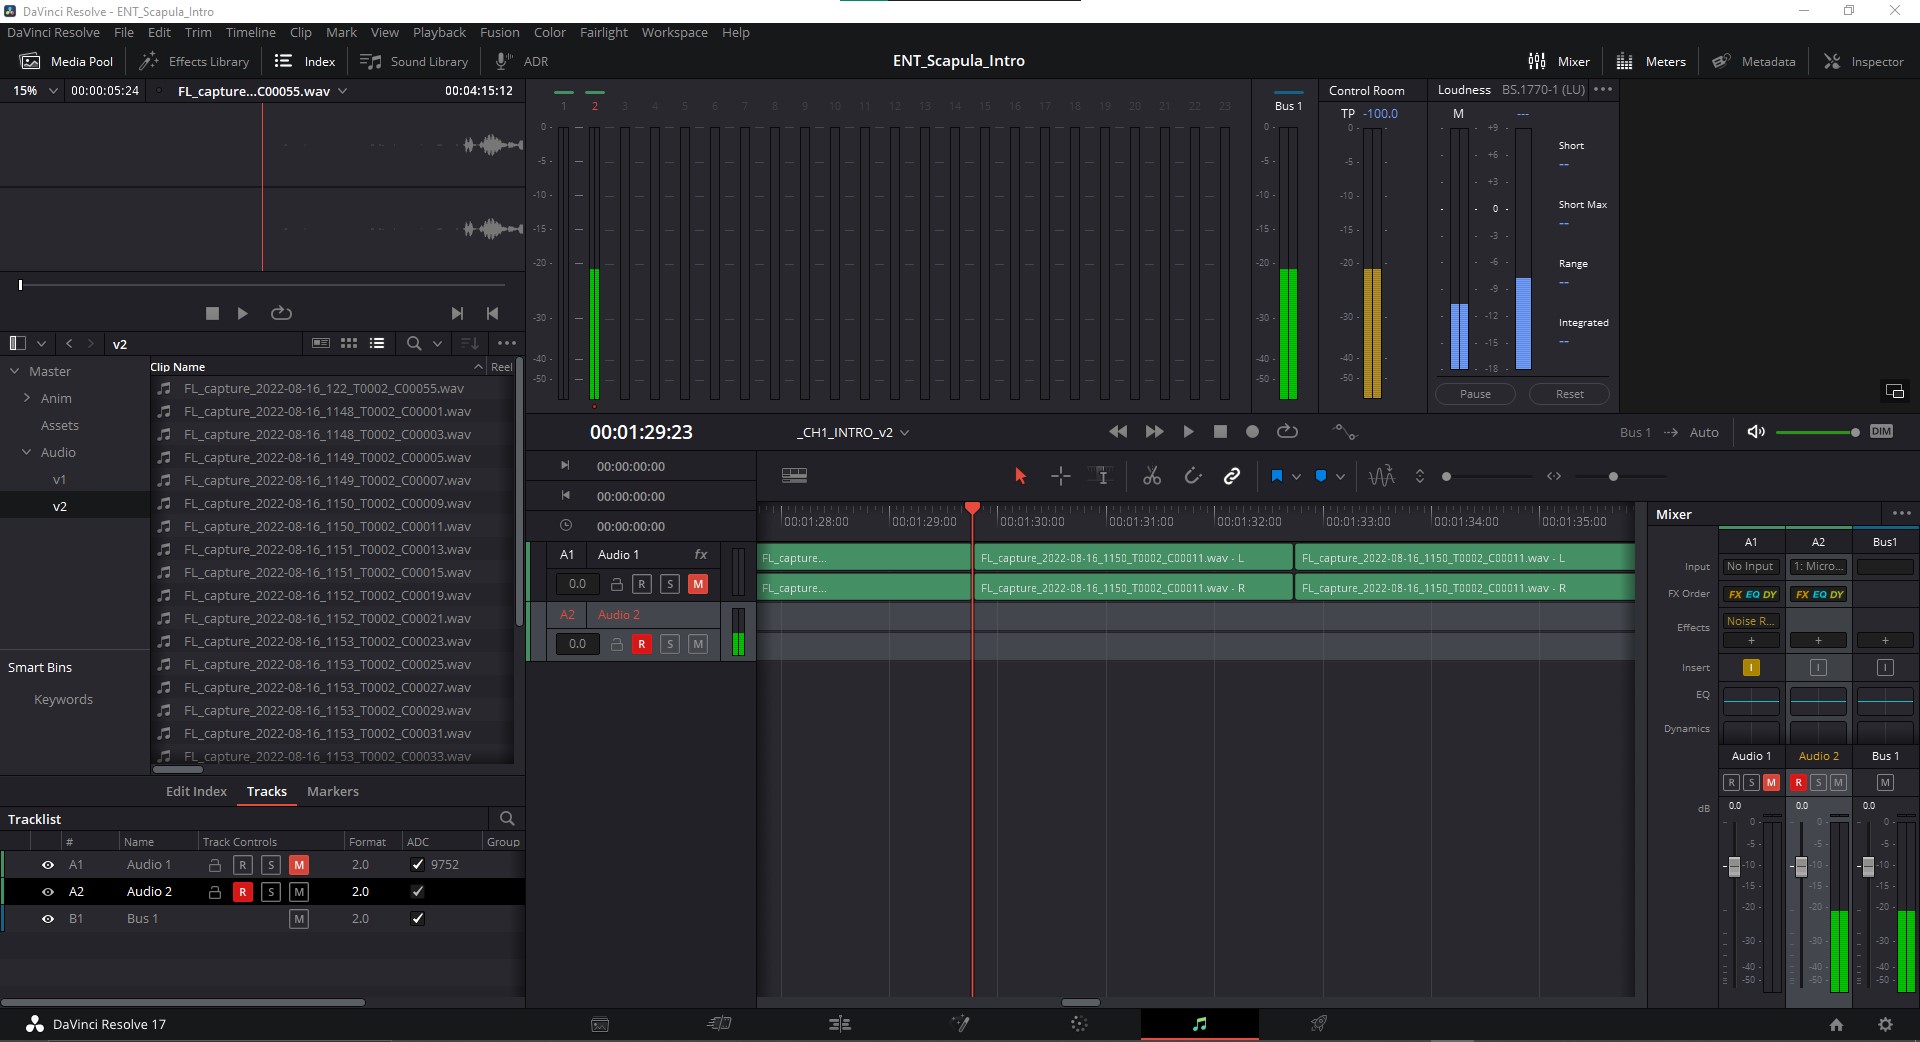
If you’re using the free video editing software we’ve featured in previous blogs, DaVinci Resolve, you can record narration directly into the software using the “Fairlight” page. This way you never have to touch an audio file, Resolve will create the files and save them with the project for you. You just need to grab them from your project’s folder structure and drop the clips into your timeline. We covered this workflow in more depth in our crash course on using DaVinci Resolve.
There are some drawbacks though to recording audio yourself. The first is that most people are not fond of the sound of their own voice. This is very common, and results from the fact that your ears don’t hear your own voice the same way you hear anyone else’s voice. Your mouth projects your voice away from your ears, and your jaw, tongue and throat are all connected to your skull and ossicle bones–it’s unavoidable that there will be distortion to hearing your own voice. With practice you can become more accustomed to it, but because it can be so distracting, you may wish to find another approach.
Another drawback to recording audio yourself is even if you don’t mind the sound of your own voice, you might get nervous when recording, or stutter, or mis-pronouce words unintentionally. Many people often verbalize pauses such as “ums” and “uhs” that can be distracting and unprofessional for a video narration.
Lastly, even if you have a good voice for narration, you’re motivated to do it and you can speak with energy and enthusiasm, it still takes time to record narration. If you’re a perfectionist, it can eat up a LOT of time.
Option 2: Apple’s Text to Speech
A great alternative we’ve used for many years at TVASurg is automatic digitally-generated voice transcription. A major advantage to this approach is speed–an audio file is generated almost instantaneously from inputted text. This file can then be added to your video project’s folder structure and imported into your video editing software.
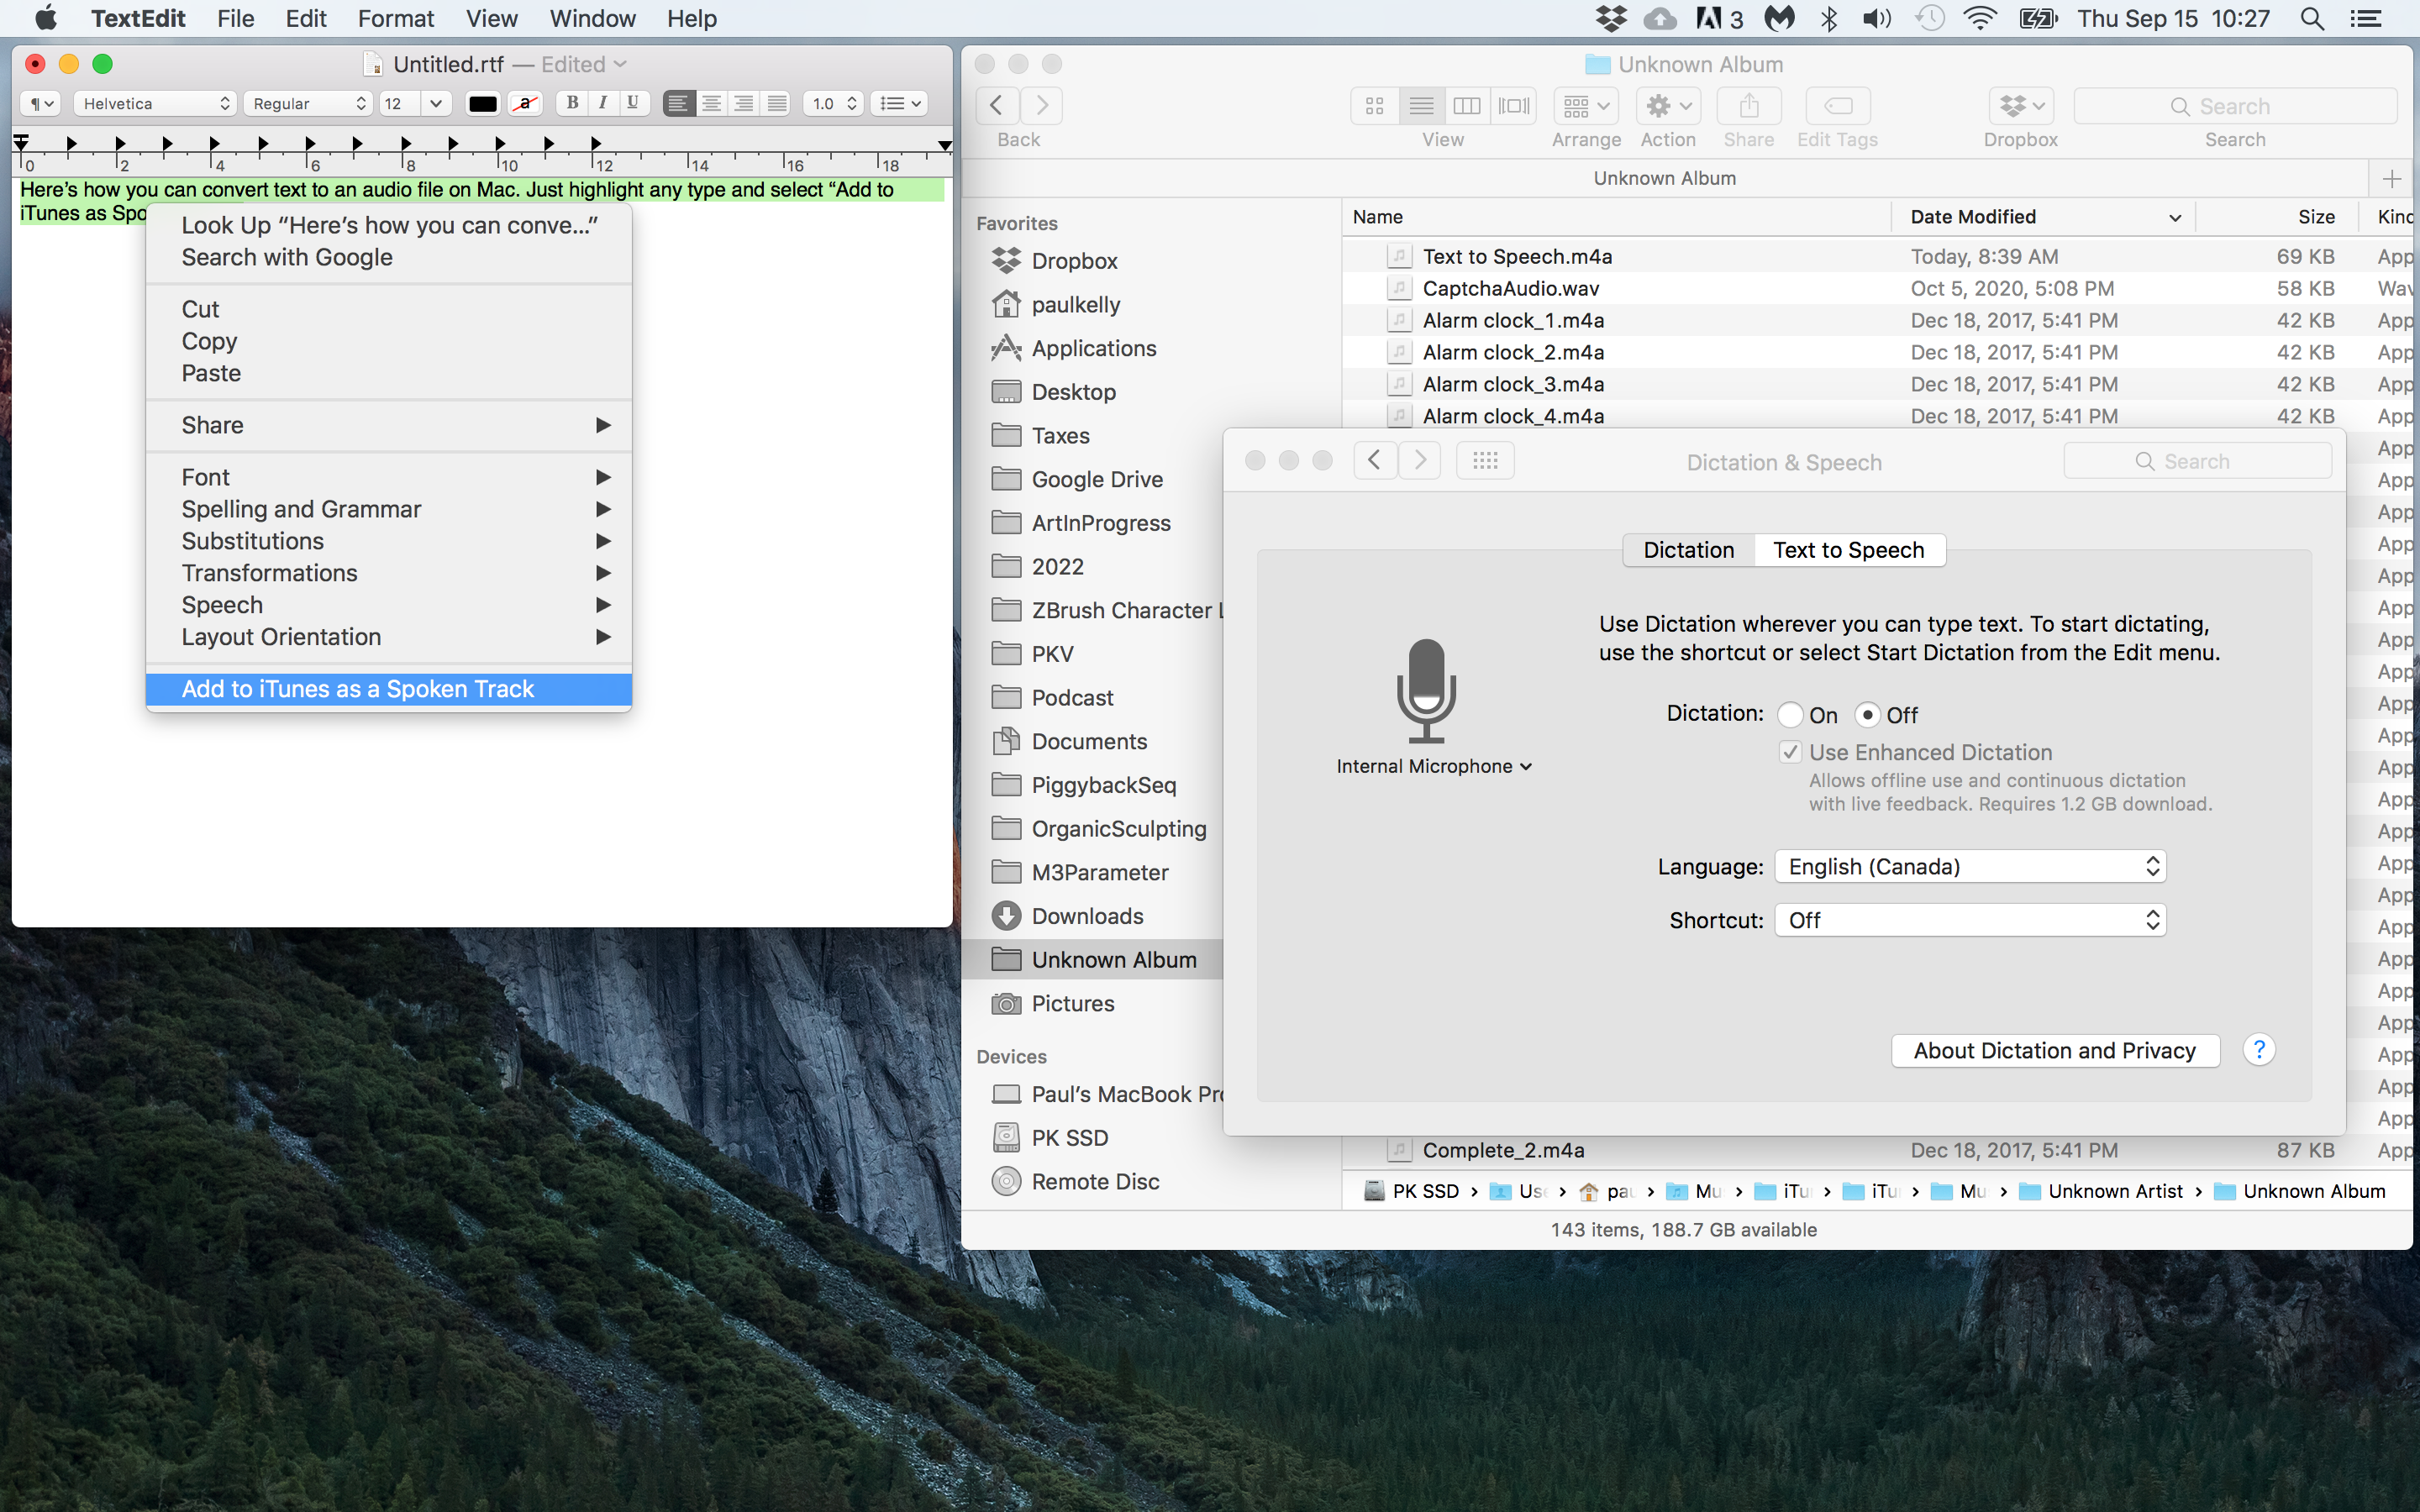
Apple computers have this built-in to the OS. If you highlight text in a document on an Apple computer, and right-click, scroll to the bottom of the pop-up menu and select “Add to iTunes as Spoken Track”. This will open iTunes and convert the text to audio speech.
Unless you set a custom save path, the created audio file will likely be found in “yourMac’sname” > Music > iTunes > iTunes Media > Music > Unknown Artist > Unknown Album > Text to Speech.m4a
If the “Add to iTunes as Spoken Track” option doesn’t show up for you, activate this AppleOS feature by going to System Preferences > Accessibility > Dictation > Open Dictation & Speech Preferences > Text to Speech. Here you can also choose from a list of voices, some even have accents!
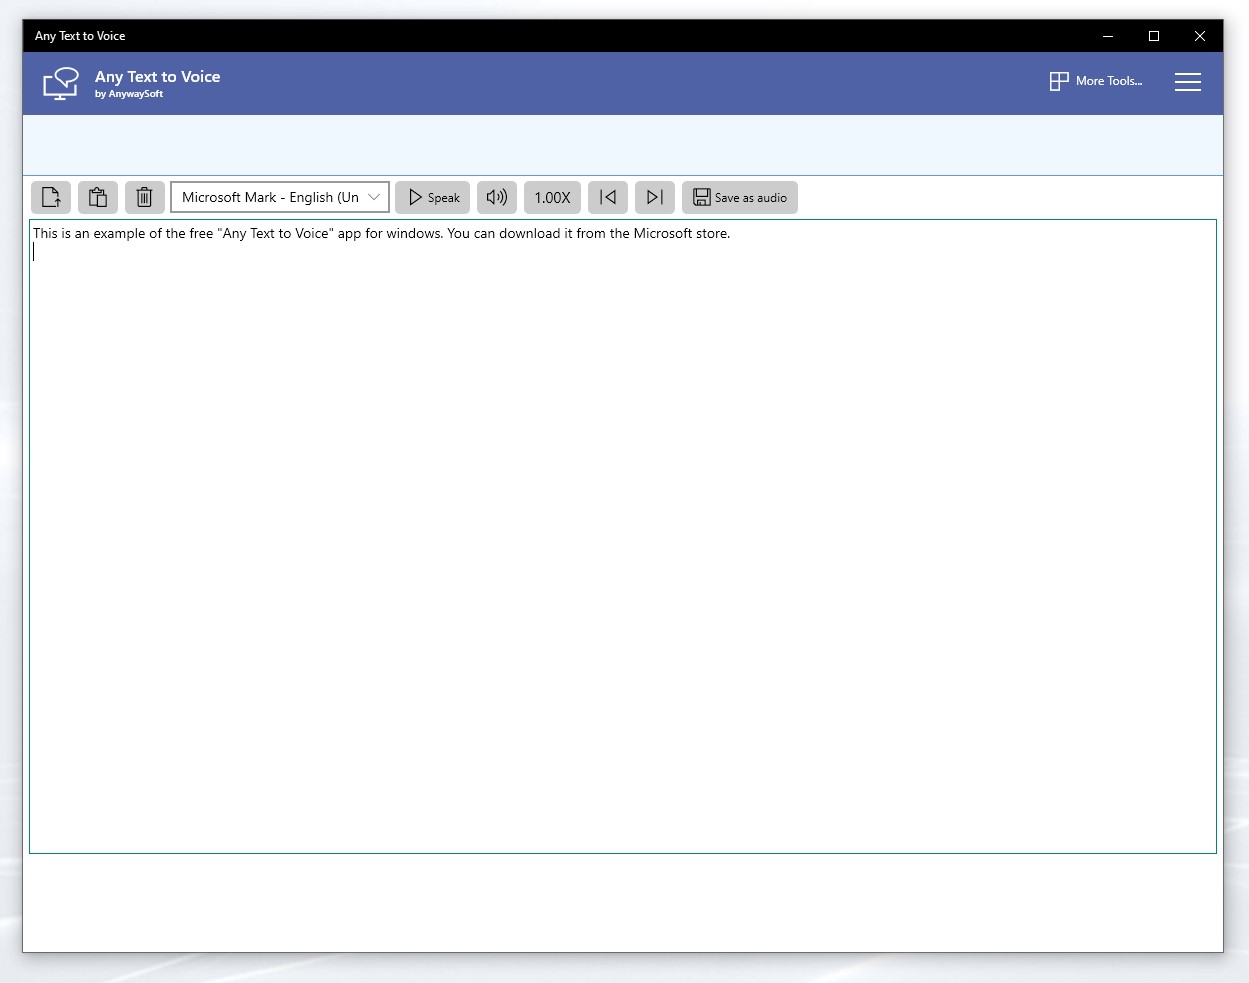
Computer generated audio dictation is also available on PCs, but we’re not aware of a default feature like what Apple has. You can download the free “Any Text to Voice” app from the Microsoft store. Just paste your text into the window and press the “Speak” button to preview it. When ready click “Save as audio”, set your save location, file type, and click “Save”. Similarly to the Mac workflow, you’ll then grab this audio file and integrate it into your video project through your video editing software.
Option 3: Adobe Audition’s Generate Speech
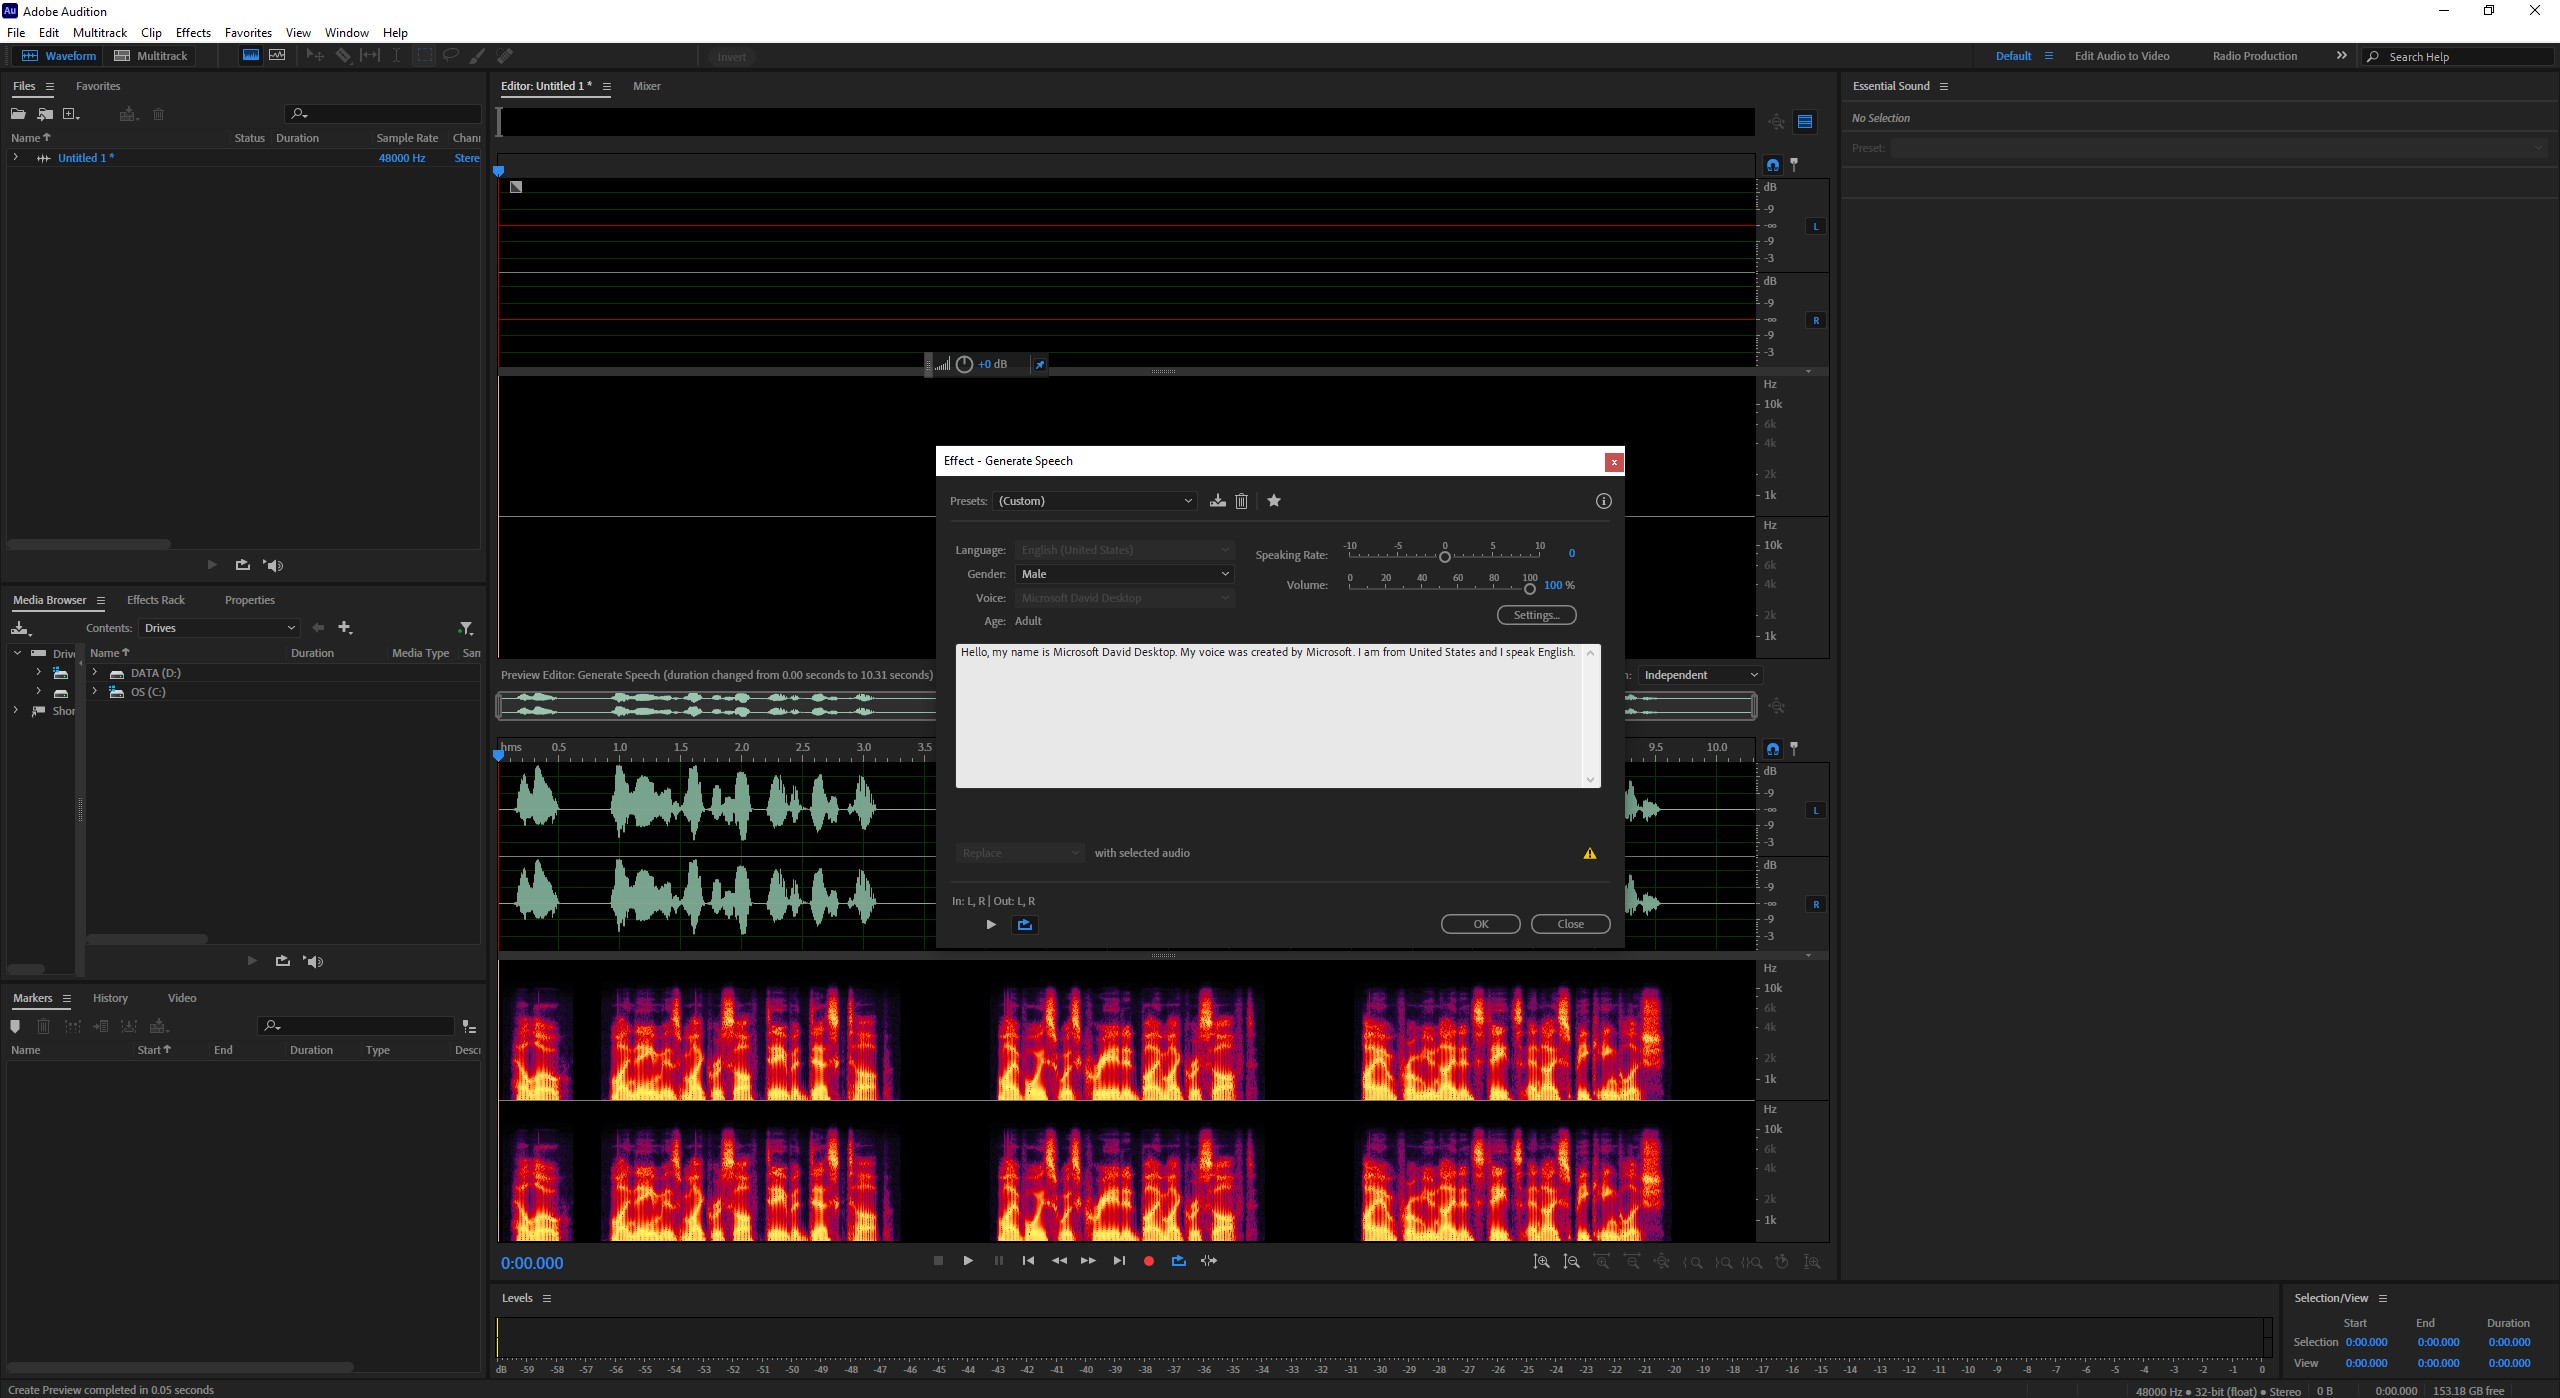
If you’re using the Adobe Creative Cloud suite, you can use Adobe Audition to generate automatic dictation. The specific option is found in “Effects > Generate > Speech”.
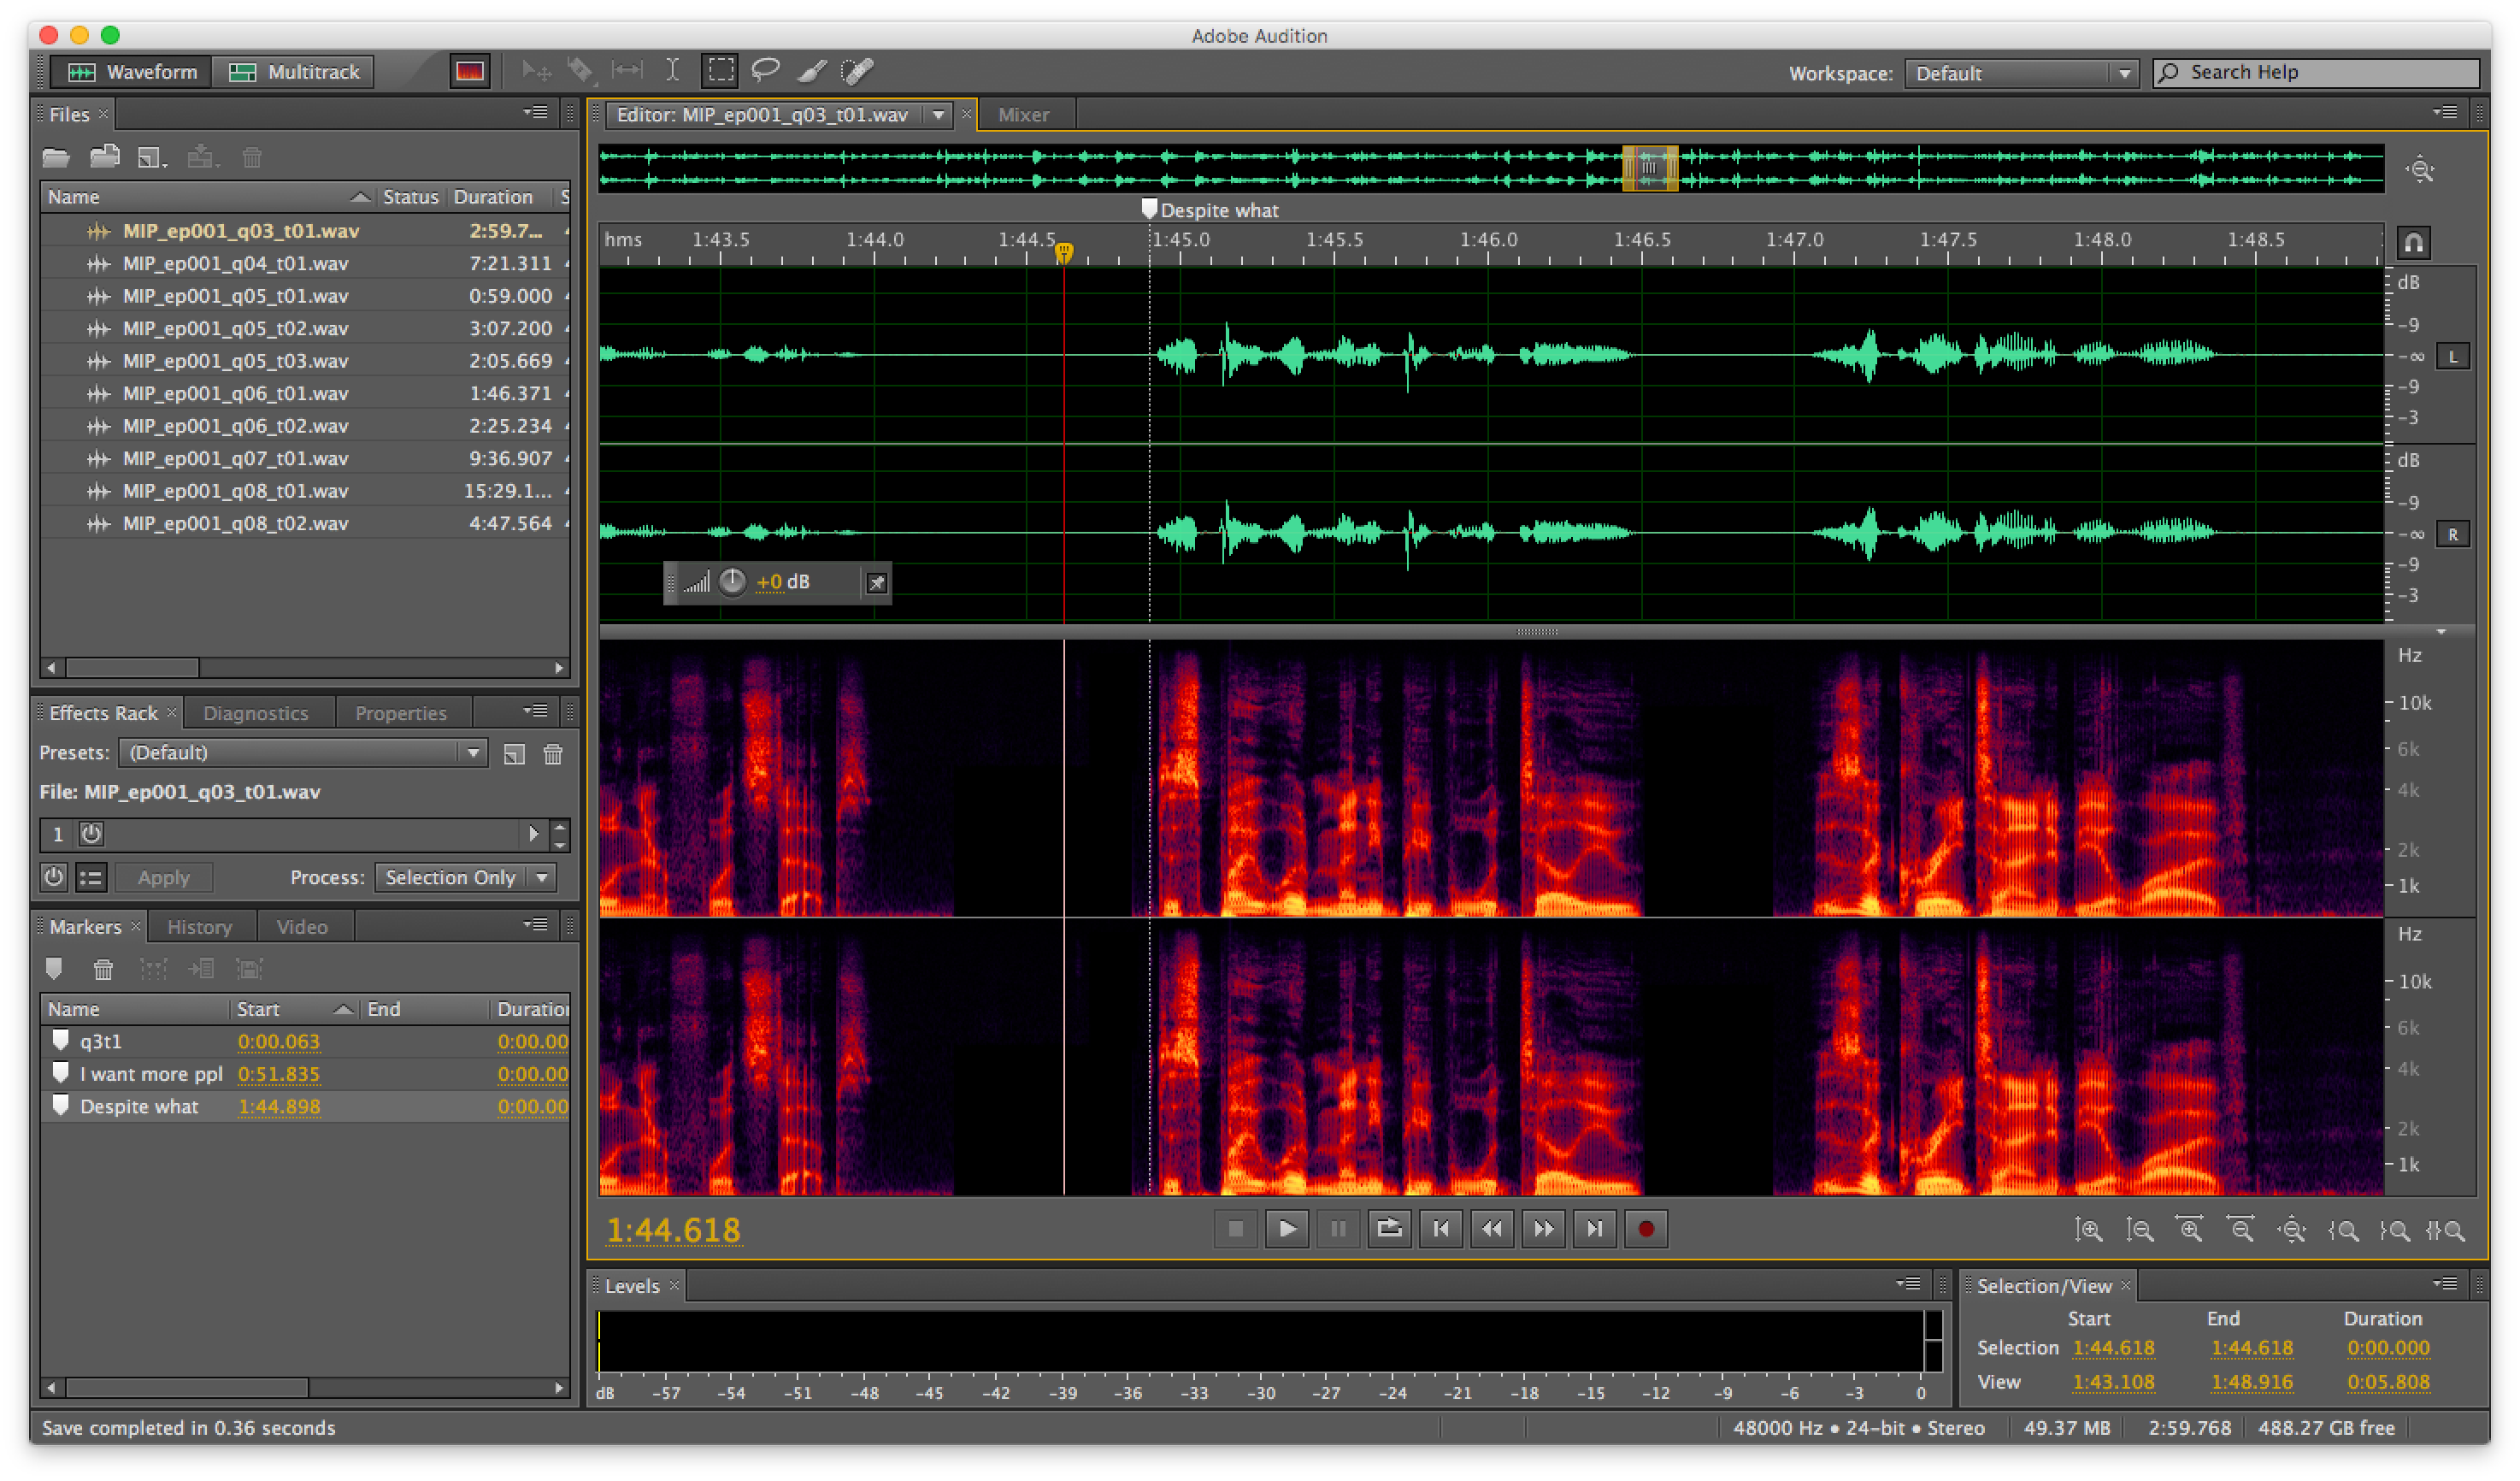
The module allows for different voices to be used in the narration, based on the OS installed on your computer. More importantly, it allows for some customization on the talking speed, which we’ve found to be helpful in setting up the basic pacing for our videos.
In addition, the module allows for multiple paragraphs of text to be copy/pasted for speech generation, and the resulting waveform can be viewed immediately upon processing. This is useful as the audio file can be immediately edited, where words or phrases can be cropped out, or replaced with another text-to-speech iteration.
The final output file can be saved by using the “File > Export” function, which then can be imported into the video project.
Despite the speed advantages of computer-generated voice over, there are disadvantages as well, the biggest ones being their hit-and-miss ability to pronounce medical terms correctly, and the unnatural and awkward nature of computer-generated voices. Some listeners can have strongly negative reactions to these, and it can even make the video unpalatable to some. For these reasons, we only use computer-generated audio for scratch narration, and do recommend recording an actual human for your final narration.
Option 4: AI generated voices
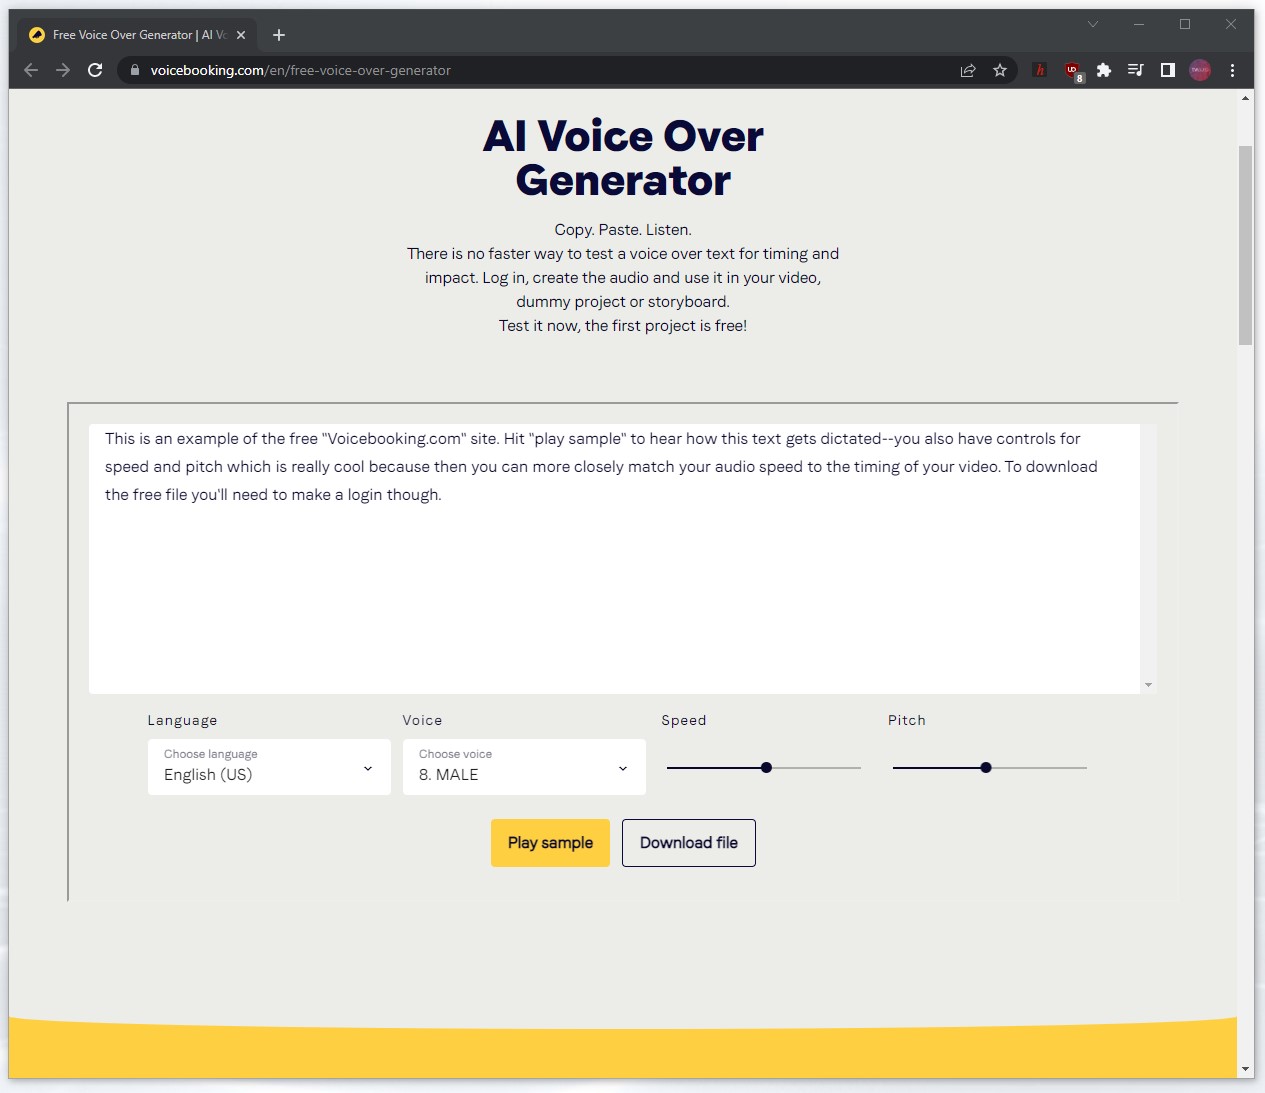
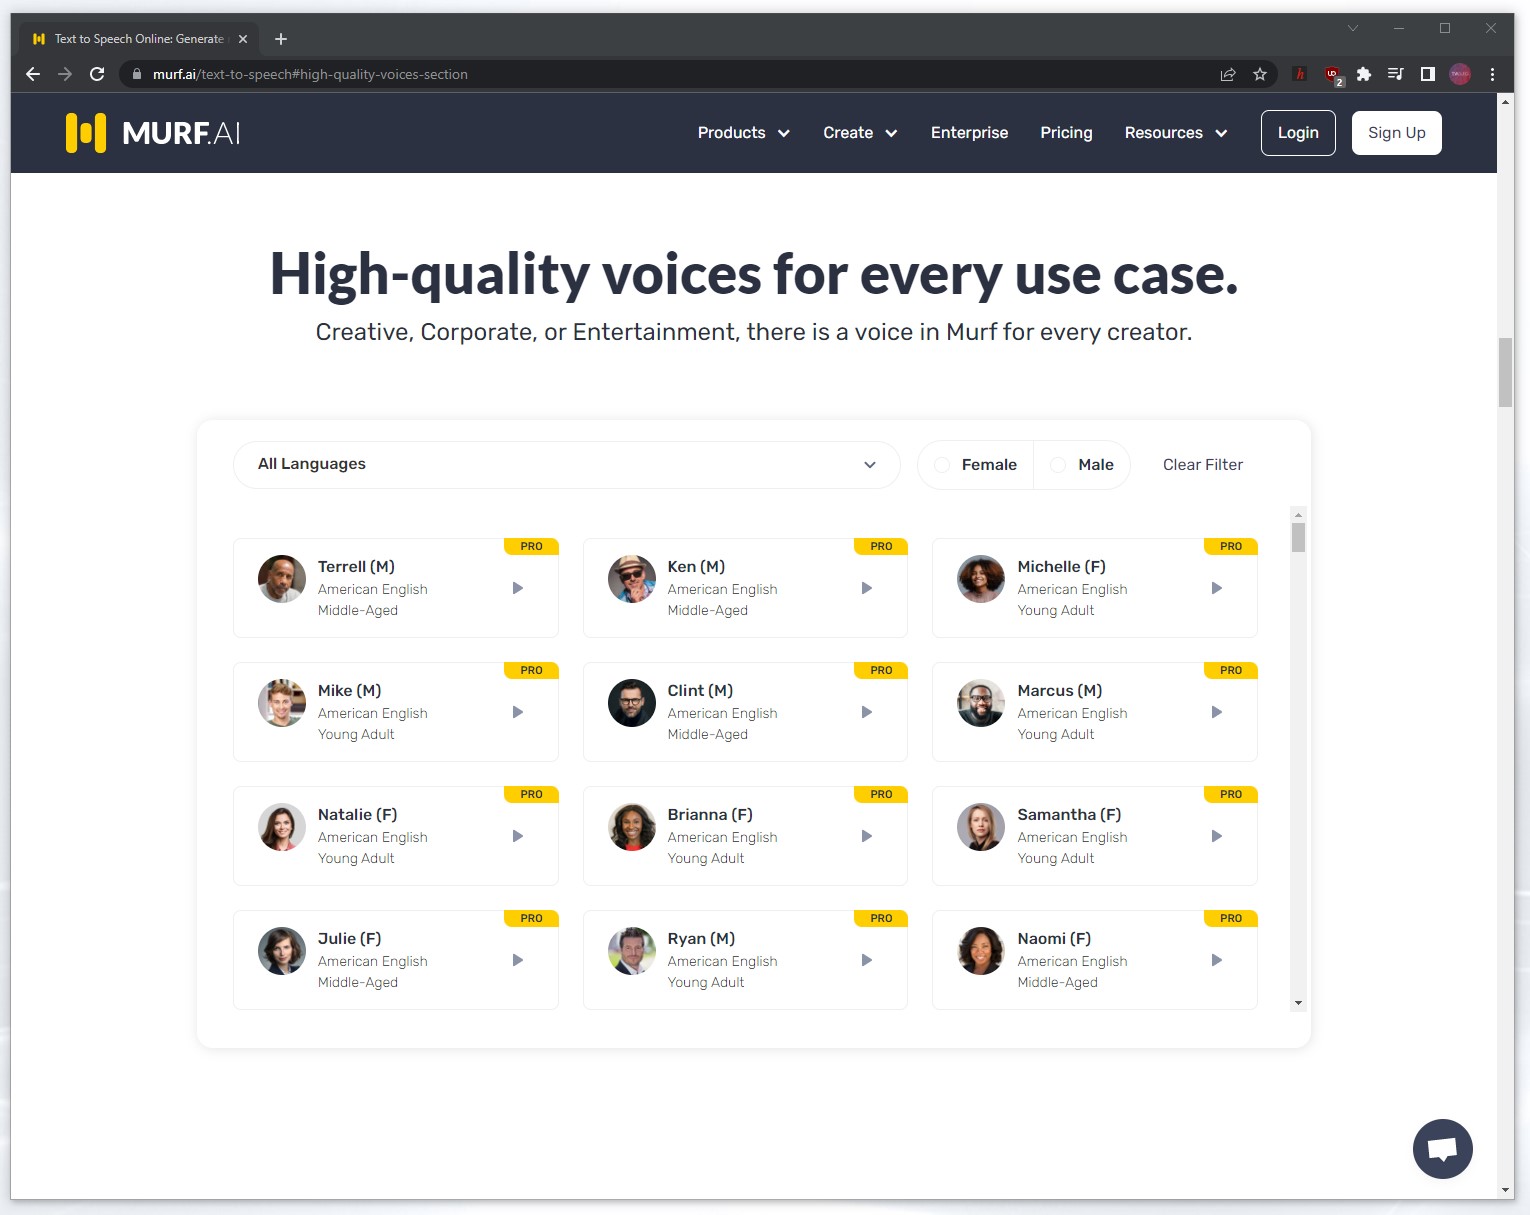
New AI tools on the market may remedy these problems though. Sites like Voicebooking and MURF.ai offer automatic text-to-speech dictation that’s the most human-like we’ve ever heard.
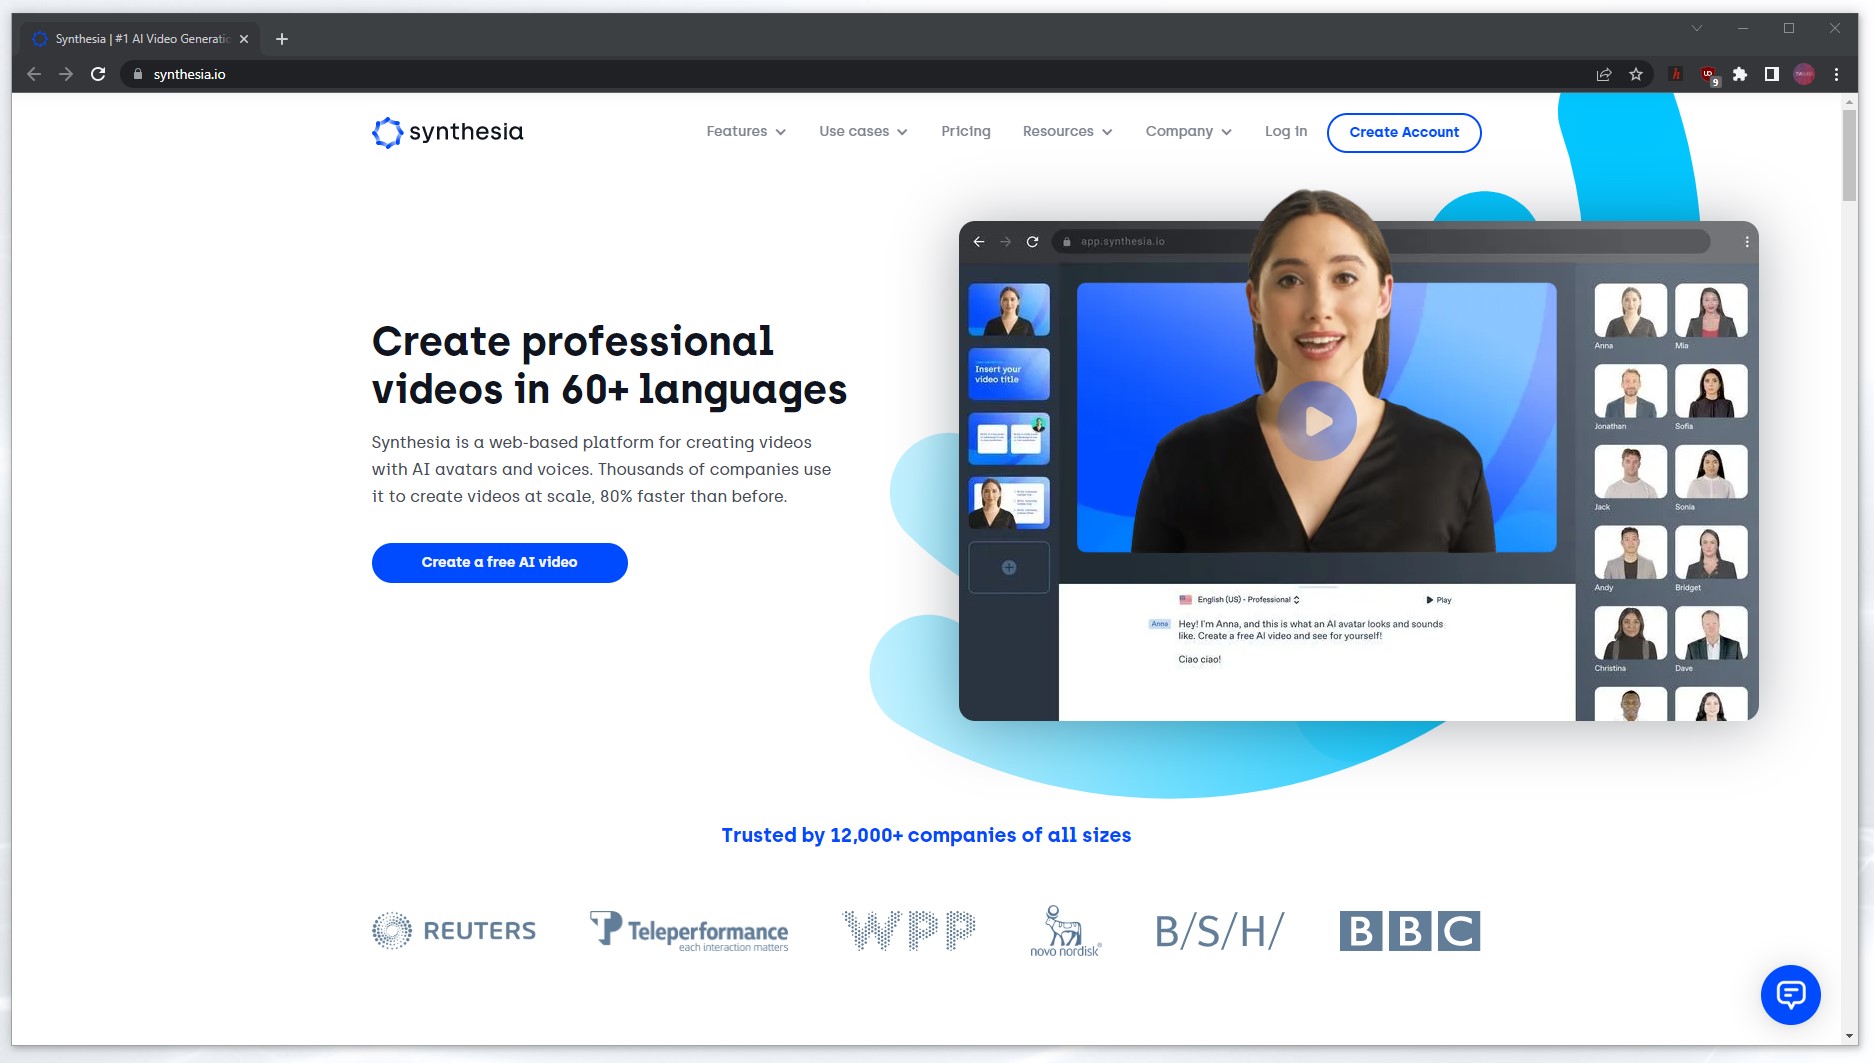
There are other advances in AI-powered tools that are even more impressive: https://www.synthesia.io/
These are 'AI Avatars' - simply put, AI-generated 'talking heads' that can conform to any text input as a narrative script. Feel free to give it a spin - it's free to try out for a short paragraph of text, and you'll receive a link to the video in your email. We also have a sample made if you just want to see it in action.
There's still a bit of uncanny-valley-ness to the avatars (notice the eyes are...not exactly focused), but in a pinch these can be quite useful in any production that calls for 'talking head' segments. In our work, we might gravitate towards utilising these in patient education pieces, having them appear in conjunction with motion graphics and/or 3D animations. We’ll have to see how our audience feels about them!
Do you have any tips for adding narration to videos? Let us know in the comments!
–TVASurg Team

Would it be possible to add typecast.ai onto the AI generator part of this content? It is also an AI voice generator just like Murf.
The AI voice generators we mentioned are just the ones we’ve tried thus far but yes, there are many out there! We’ll give https://typecast.ai/ a try, thanks for the recommendation!