- The patient is a 10-month old child, diagnosed with 2x3x3cm PRETEXT 1 tumour with no annotation factors in liver segments 6 and 7, consistent with hepatoblastoma.
- Arterial enhancement with early washout.
- Alpha fetoprotein (AFP) = 180 (AFP levels in the blood can be used both to diagnose hepatoblastoma and to monitor its response to treatment).
- The general principles of laparoscopic liver surgery are followed in terms of low CVP (Central Venous Pressure) intraoperatively.
- Pediatric patients tolerate lower insufflation pressures, so the working pressure is 10mm Hg, as opposed to 12-15 in adults.
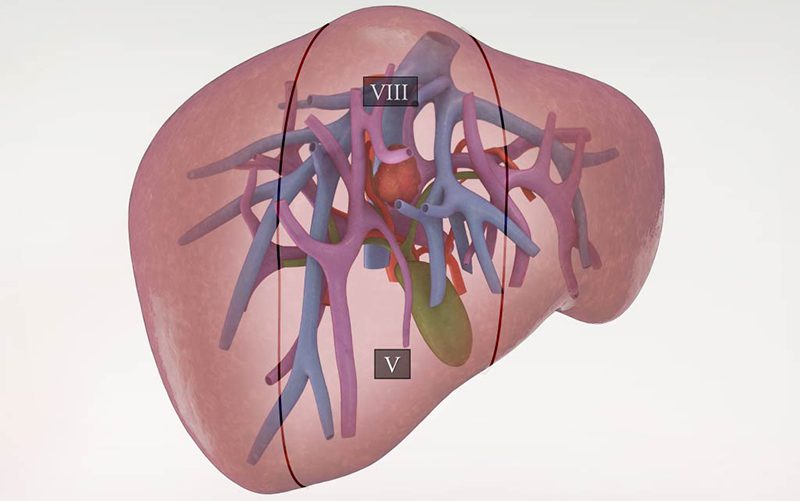
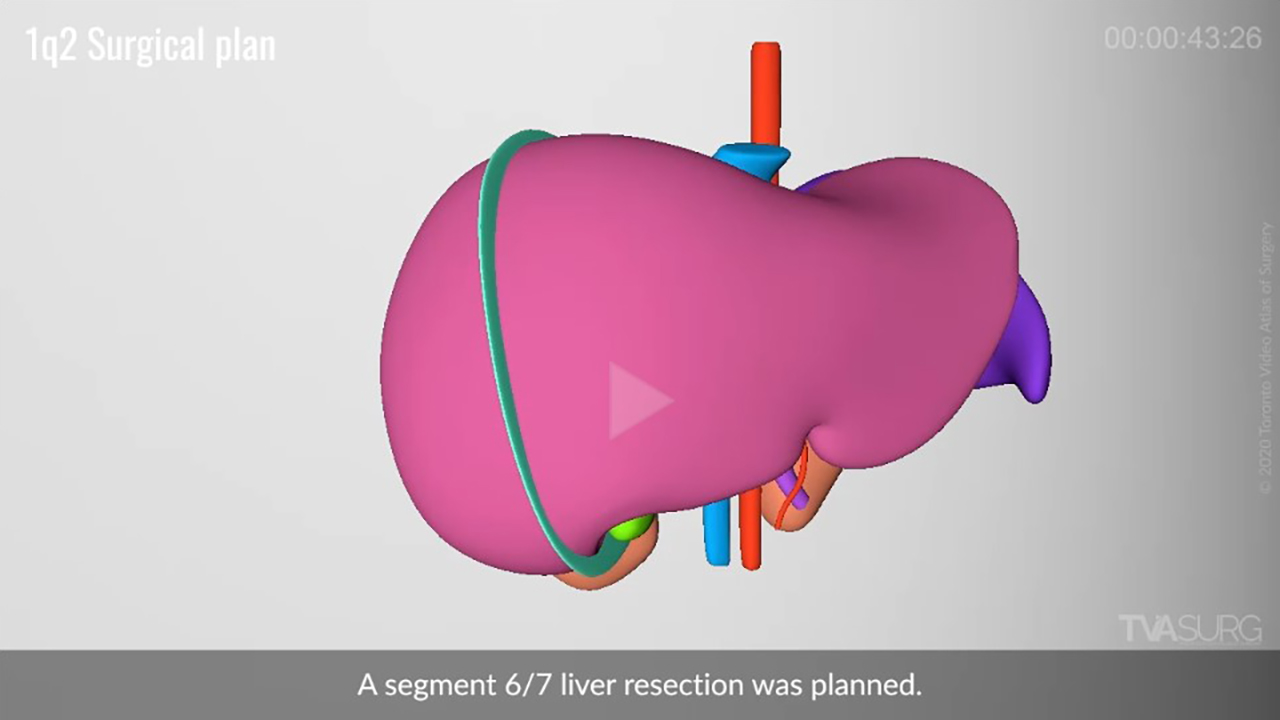
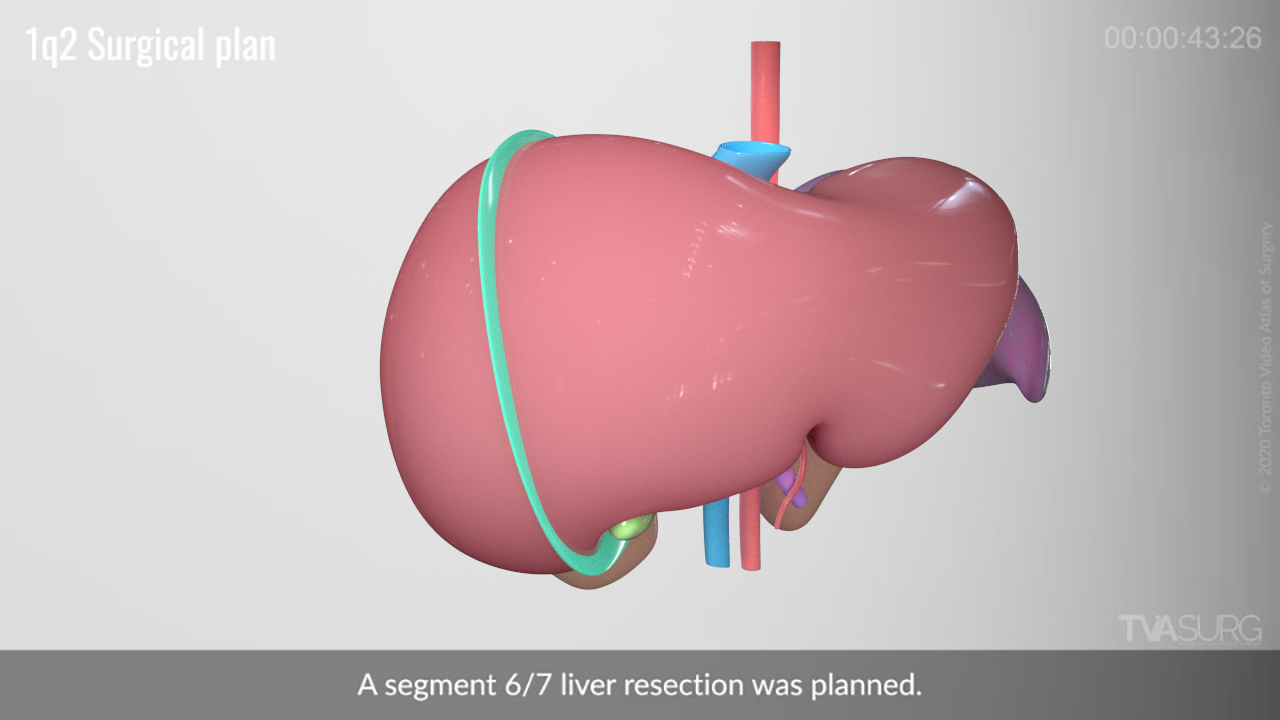
- The transection plane begins to the right of the gall bladder fossa, and proceeds along the borders of segment 5 and 6, and segments 8 and 7.
- A Pringle maneuver will be applied using a laparoscopic bulldog clamp on the porta structures, clamping the porta for 15 minute increments, followed by 5 minute reperfusion rest periods.
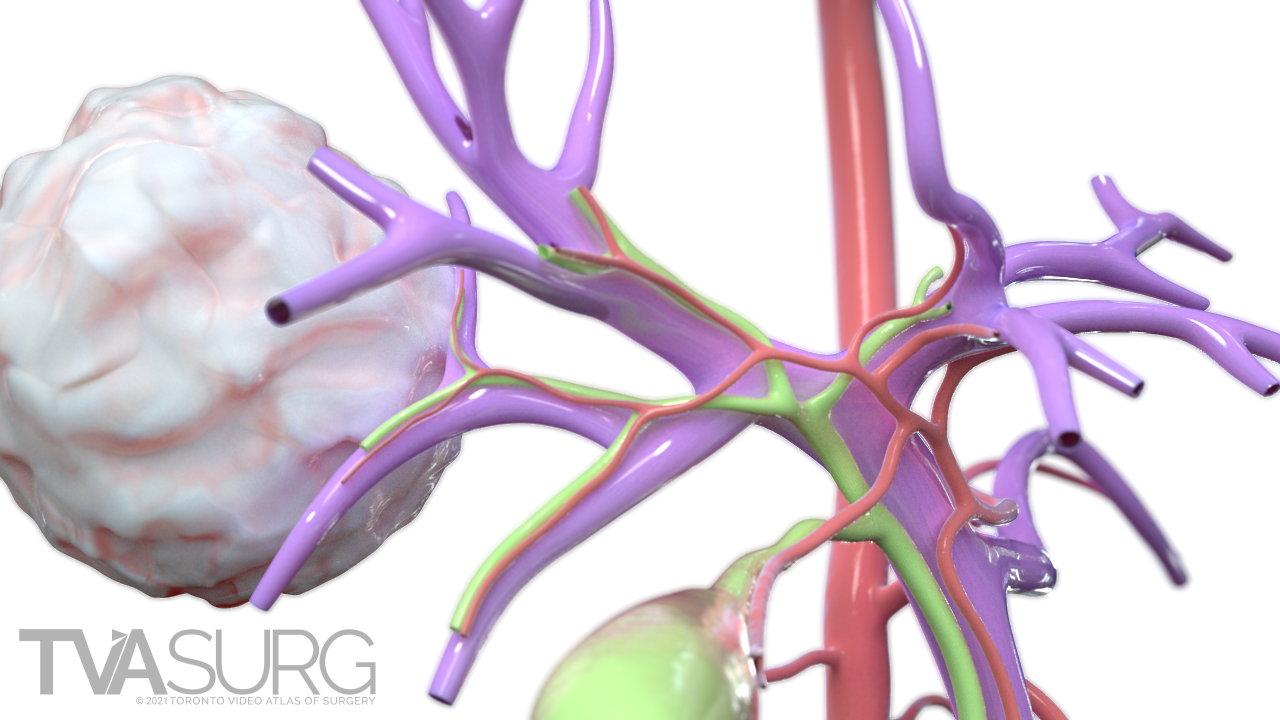
- Segment 5, 6, and 7 hepatic vein branches will be divided as they are encountered.
- The segment 6 and segment 7 portal pedicles will be ligated and divided.
- Ultrasonic dissection is optimal in pediatric liver resections, as liver tissue in young children breaks apart more easily and is less prone to bleeding.
Shown here are the models used in the animation for this video, based on automatic 3D reconstructions of both pre- and post-op scans. Sometimes we have thick scans to work from, so the automated 3D reconstructions may not have much detail, and this was the case with the pre-op scan series for this patient. The post-op scan series had better detail, although there were a lot of artefacts to clean up (see next tab below). For the animation model set, we used the information from multiple sources (including our expert surgeon editors) to reconstruct what the pre-op anatomy would have looked like.
We'd like to share a few key moments from the production on this video.

After doing a bit of research, we start off each case with video editing in Adobe Premiere Pro. For lap cases, we usually only have one file of source footage to work from, but in open cases there can be several.
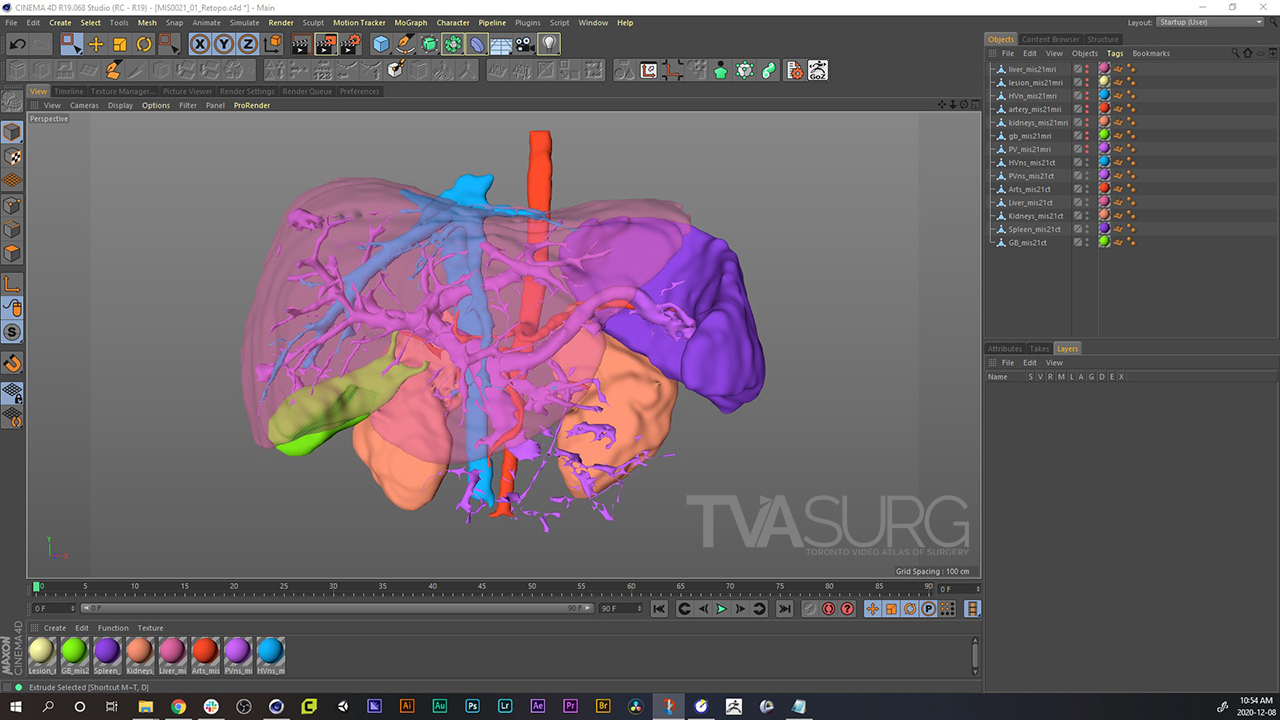
This is the first stage of 3D modelling, where we've used the medical imaging reconstruction software 3DSlicer to generate a base set of models.
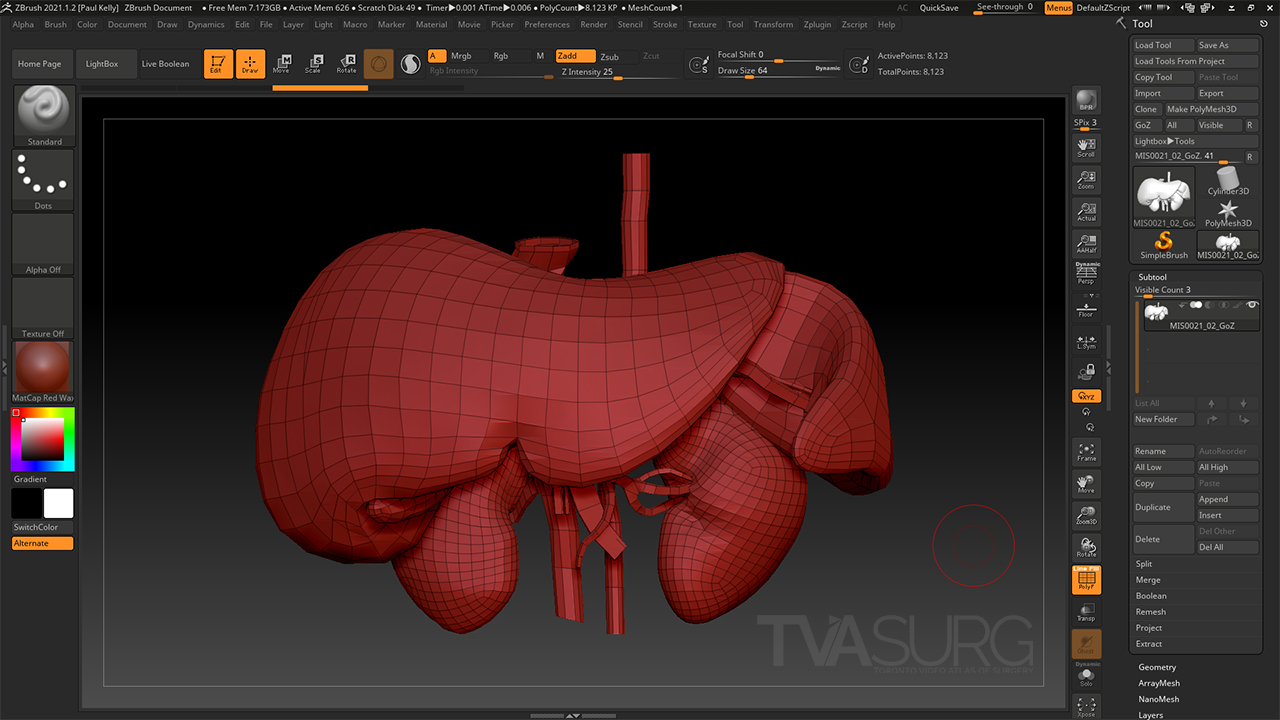
We use specialized modelling software to refine the CT-reconstructions and make them suitable for animation. Shown here is the Pixologic ZBrush interface where we've retopologized the models giving them clean, efficient mesh topology.
For the first few iterations of animation for review, we use a technique called a "playblast" where the animation software viewport essentially "screen-records" the low-fidelity, smoothed models with a simplified appearance.
After approval, the animations can then be rendered. In 3D animation, rendering is the calculation of how lighting will affect the surfaces of model meshes given a set of surface detail parameters as described by that object's shader.
In this video we've used a specialized 3D render engine, Arnold, which uses physically-based lighting to produce more realistic illumination and light falloff.
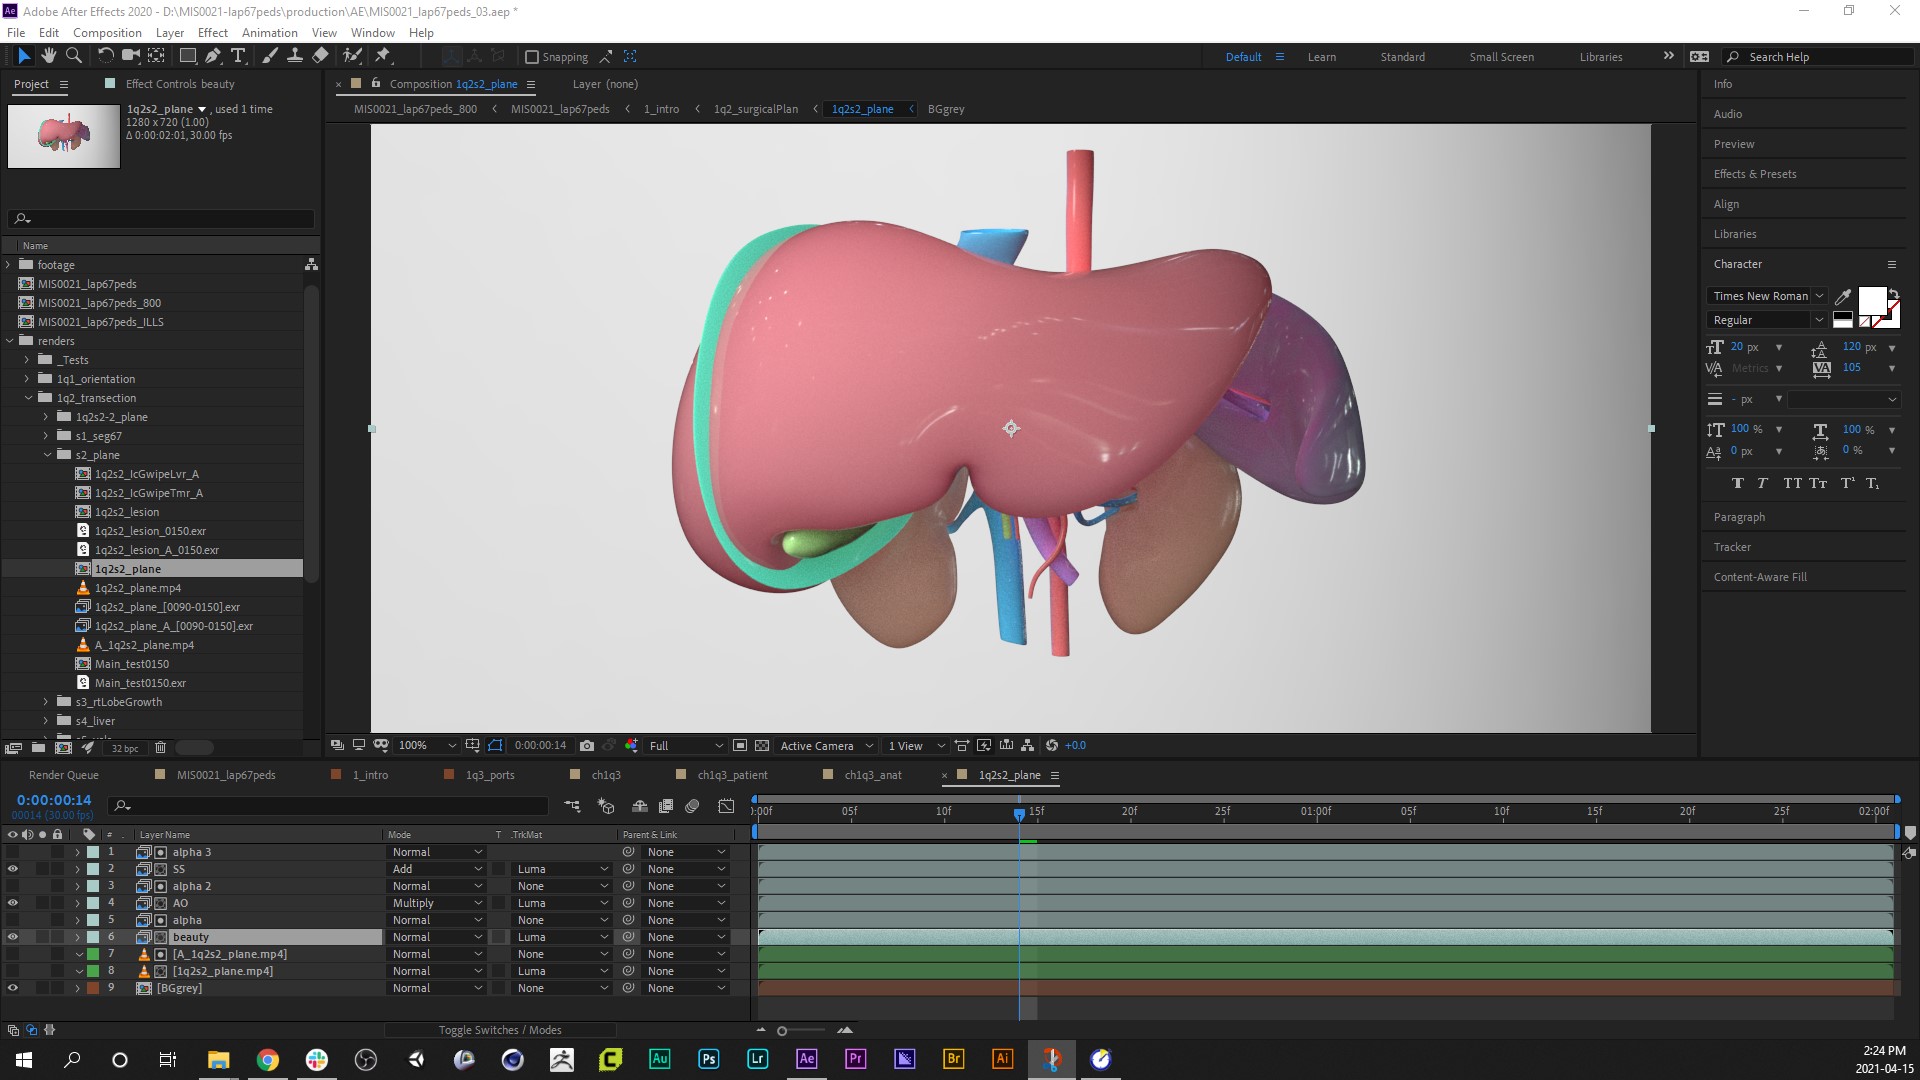
In the final stage of production, we composite the animation sequences using Adobe After Effects.